Configuring the ZoiPer Softphone on Windows
To work with UniTalk cloud telephony on your computer, you need to install and configure a SIP client. ZoiPer for Windows is one of the software solutions that fully integrates with our platform, allowing you to handle calls directly through your PC. Configuring this softphone ensures a stable connection between your internal line and the UniTalk server, turning your computer into a functional operator workstation. Below is a step-by-step guide for quick setup.
Step-by-Step Configuration Instructions
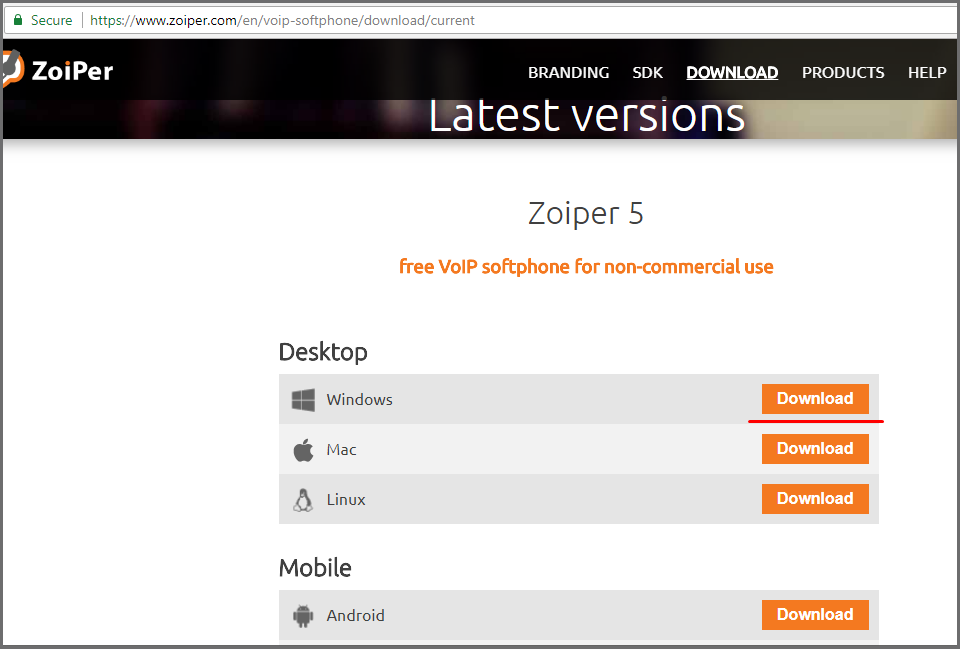
On the official website of ZoiPer, in the download tab, select the version for Windows and click Download.
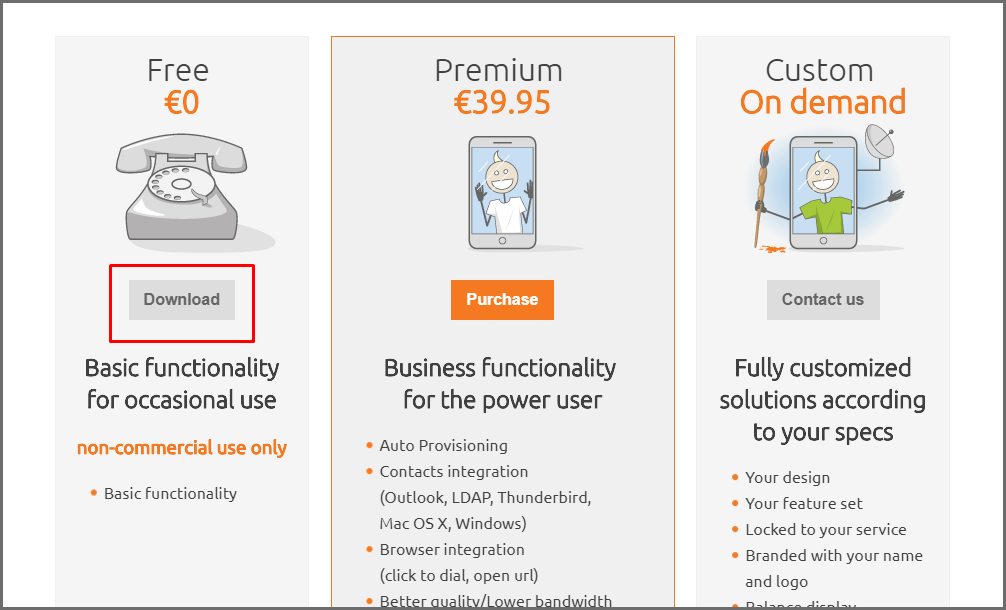
In the pop-up window, in the Free field, click Download.
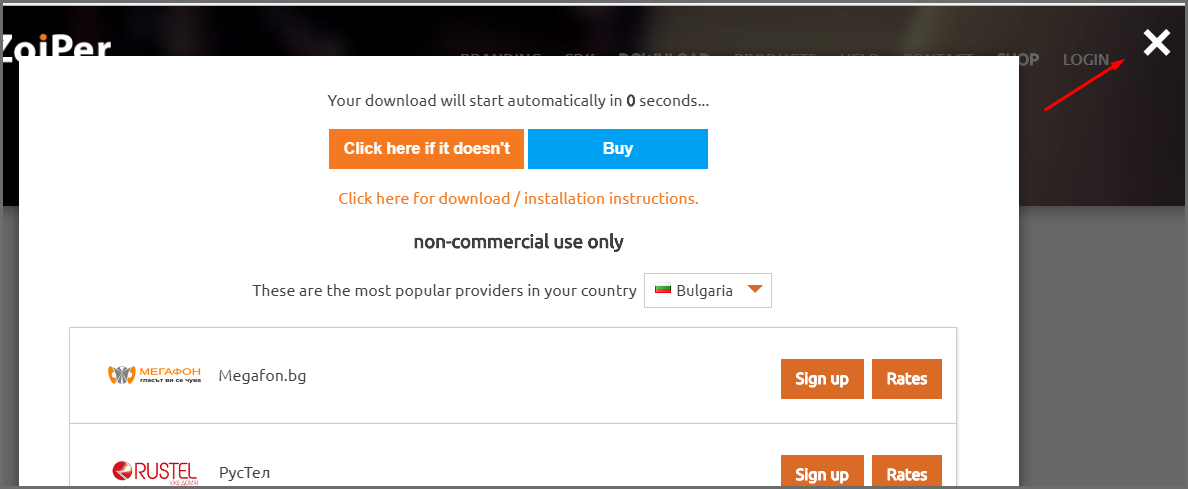
After the download starts, you can close this window, it is no longer needed.
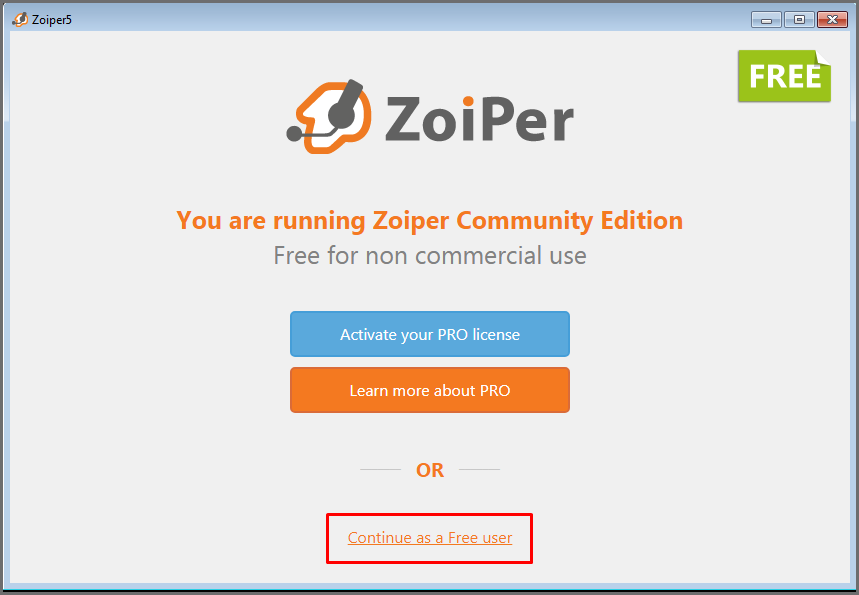
After the download and installation is complete, we are greeted by the softphone start window in which you need to select Continue as a Free user.
To continue, you will need a login and password for the internal line, this information can be obtained in your personal profile in the “Users” tab in the Settings section.
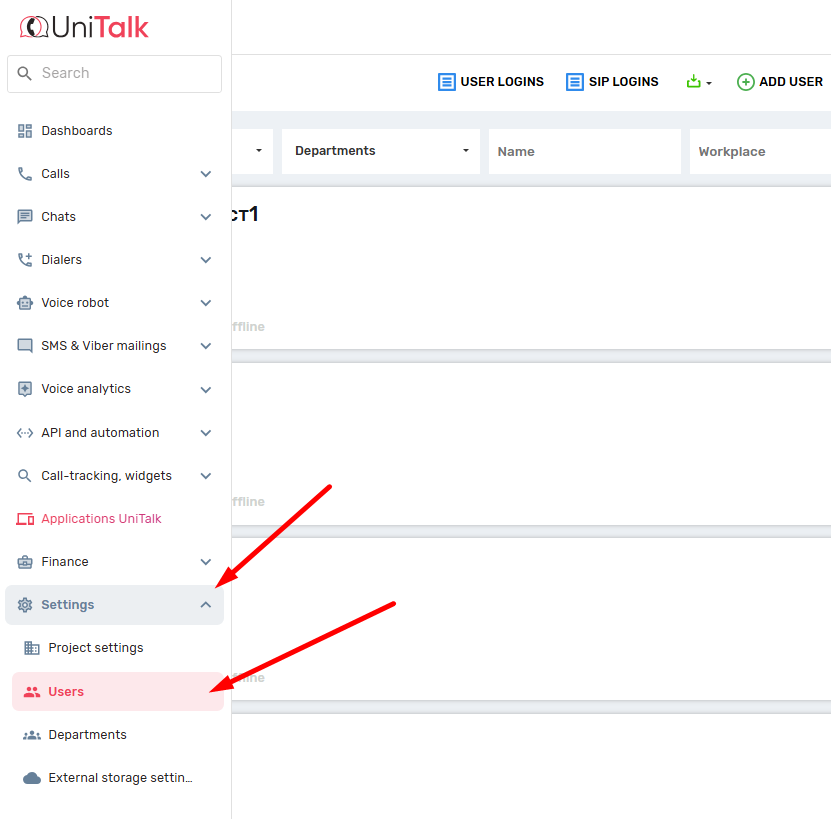
The login is the internal number, and the password can be obtained by clicking on the “Show Password” button.
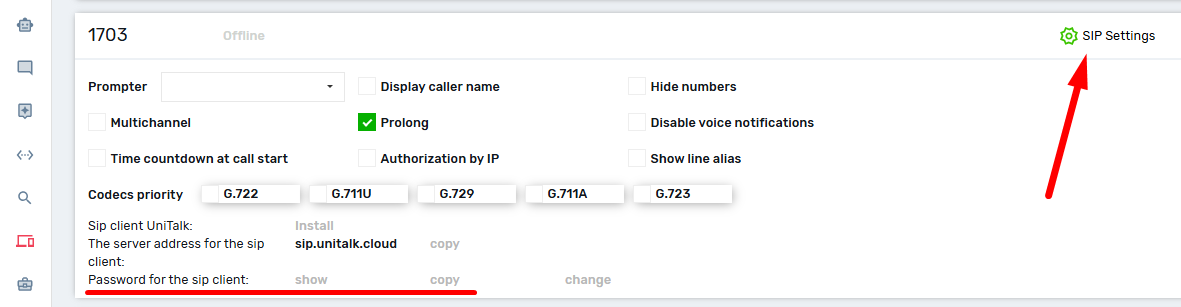
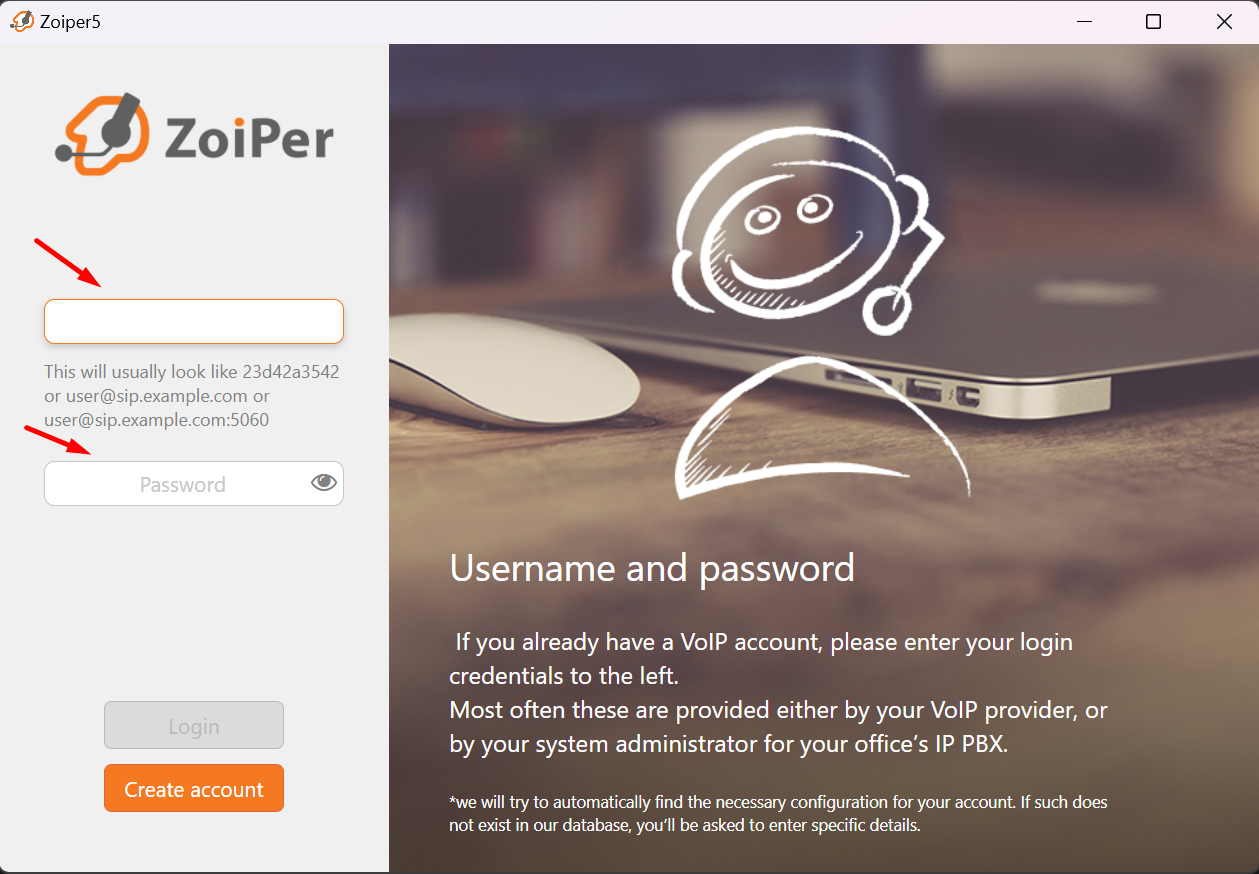
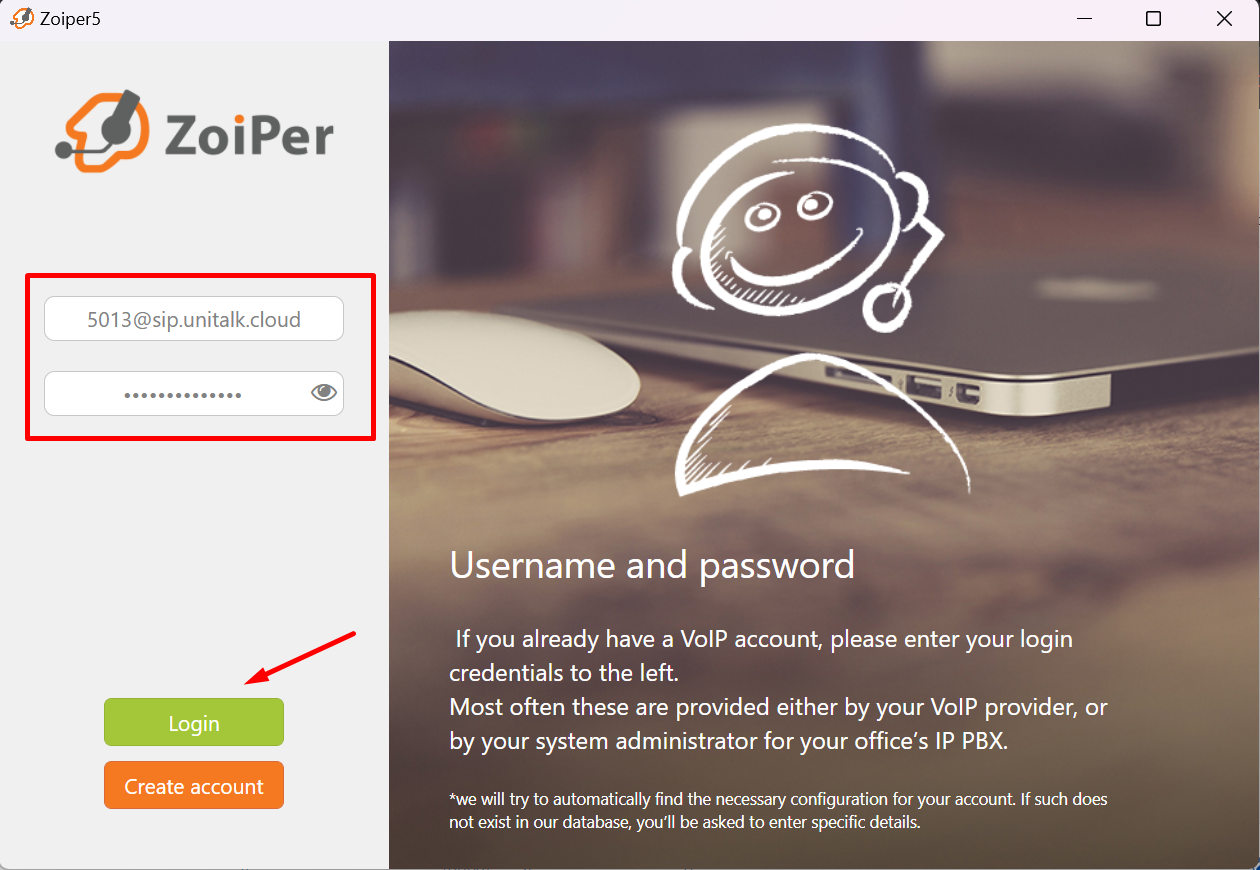
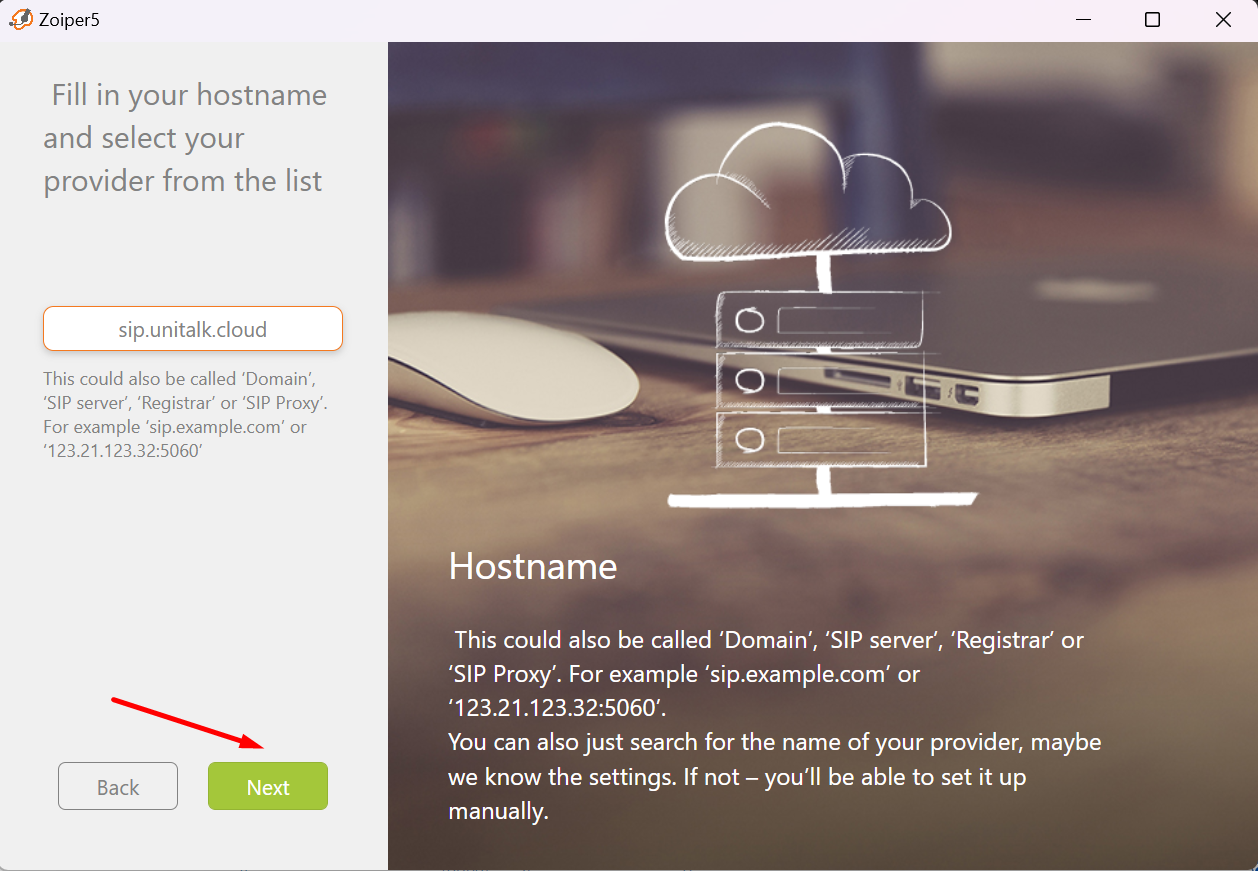
Return to the softphone and enter the extension number in the login field, and after the @ symbol, enter the name of the SIP server sip.unitalk.cloud (as specified in the SIP line settings on the Users tab). Next, enter the password and click the Login button.
You must enter the data in the following format.
Next, ZoiPer will prompt you to specify a SIP proxy or SIP server. Leave the default server and click the “Next” button.
Next, we DO NOT NEED to specify additional options, so uncheck the Optional checkbox if it was previously set and click Skip.

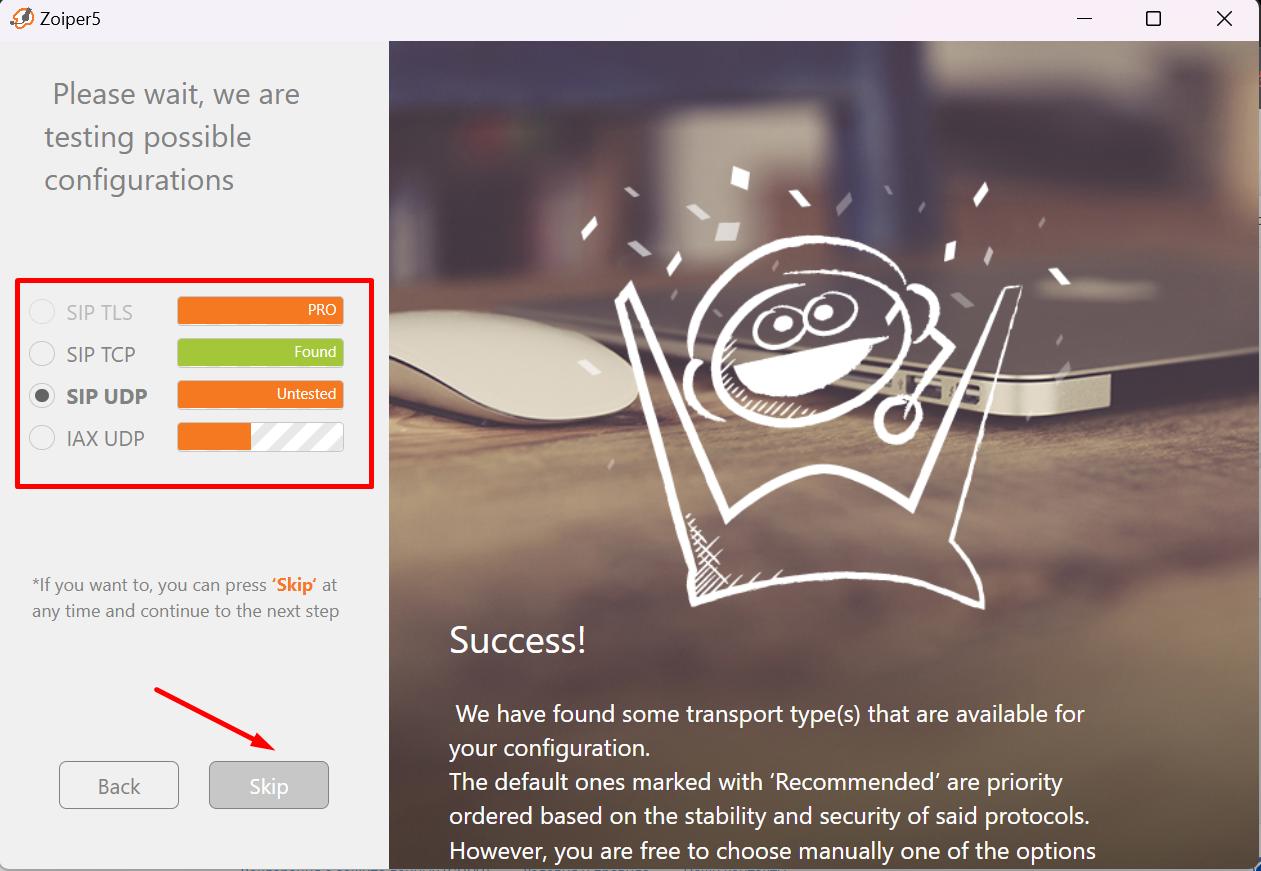
Next, ZoiPer will test the ability to connect using different protocols, in our case, SIP-UDP is required, it should be selected in the checkbox and have the status (Found), if at this stage everything is fine, click Next, if not, return to the beginning and check the correctness of the login and password, perhaps a space was added somewhere.
At this stage, the softphone will offer to check the settings of the sound input / output system, if the user wishes, this can be done, but as a rule, it makes sense to skip this step.
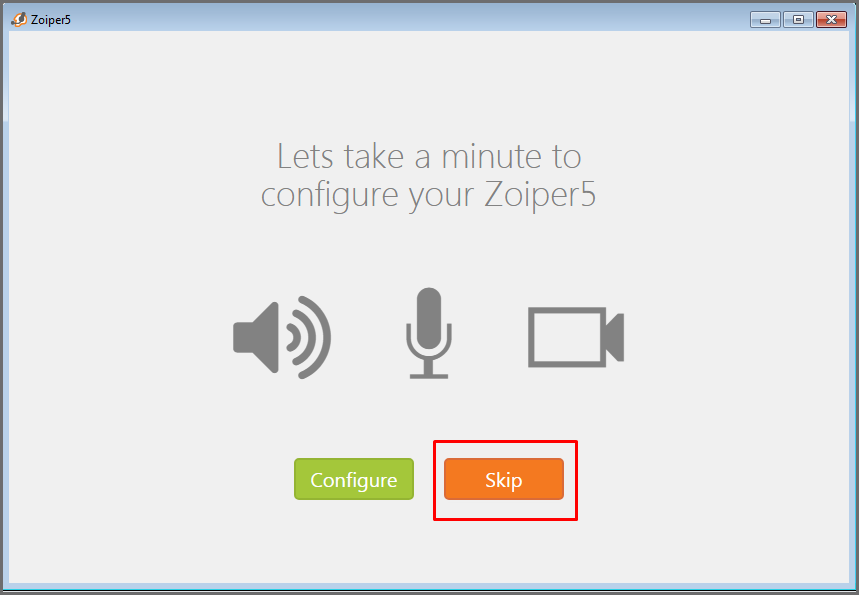
At this stage the softphone will offer to check the settings of the audio input/output system. This can be done if the user wishes, but as a rule, it makes sense to skip this step.
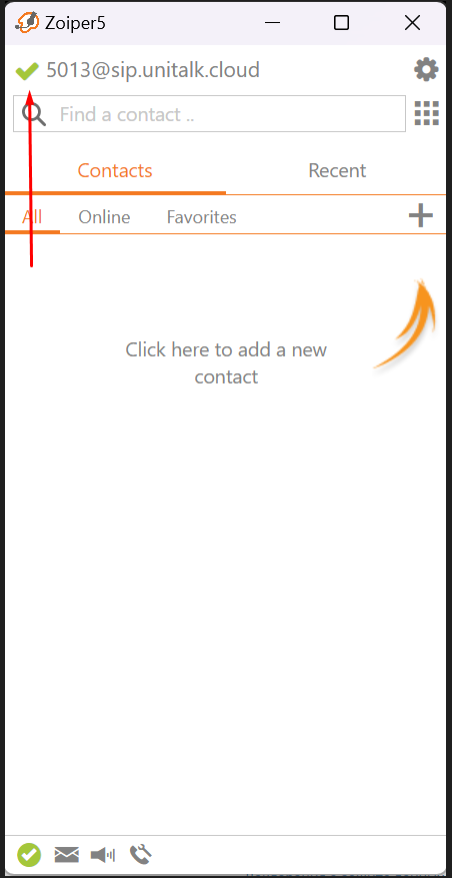
To make sure that the connection is correct, you need to check in your personal account in the Users tab whether the extension number has the Online status. In addition, you need to make a test call. In this case, your project should not have restrictions on calls between projects, or you can ask the user to call the internal support number.
The green checkmark in the ZoiPer window indicates that the system is ready for use. For final confirmation, check the status of your internal line in the UniTalk personal account — the number should show an “Online” status. We also recommend making a test call (for example, to a colleague or technical support) to ensure there are no restrictions and the audio quality is optimal. Your Windows workstation is now fully integrated with UniTalk and ready to handle customer inquiries.


