UniTalk Desktop App for Windows Setup Guide
The UniTalk Desktop App for Windows is a reliable solution for organizing an operator’s workspace. Installing the standalone application ensures more stable connectivity, browser independence, and quick access to all necessary telephony functions directly from your computer’s desktop.
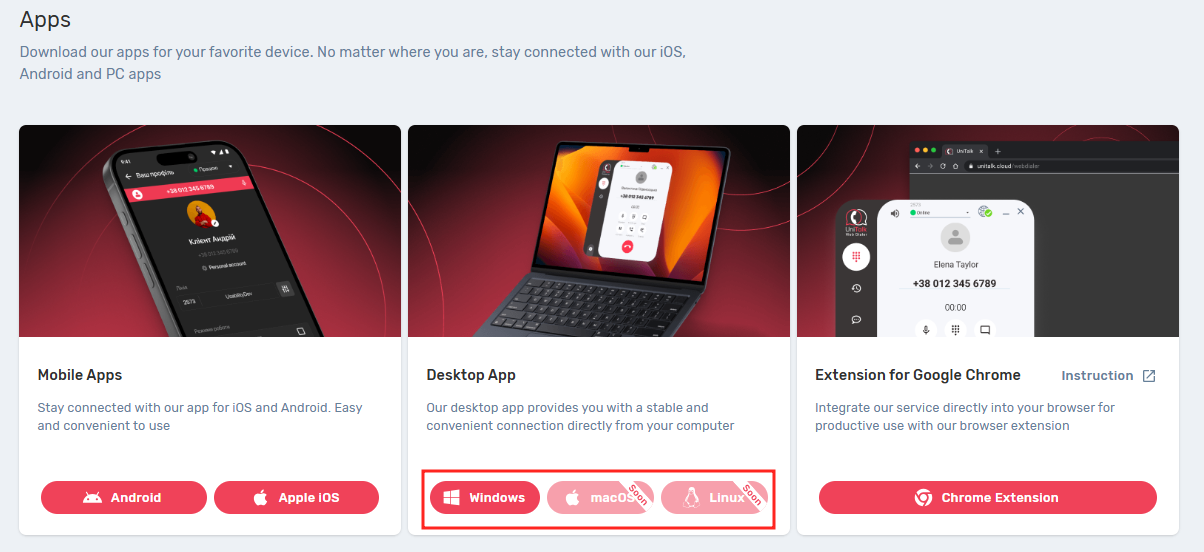
1. Downloading the application
- Go to your UniTalk Personal Account
- Open the section «Applications UniTalk».
- Select tre required operating system – in this case, Windows.
- Download the installation file.
2. Installation application UniTalk
Launch the installation process and proceed by following the standard steps of the installer:
1. Open the downloaded UniTalk installation file.
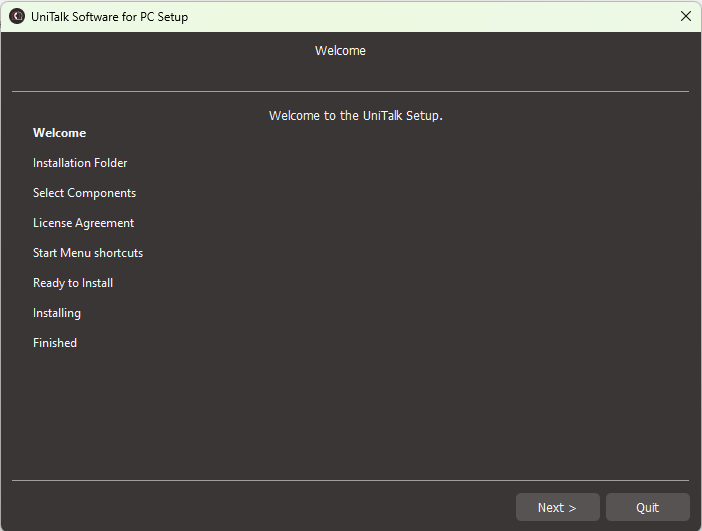
2. In the window that appears, click “Next“.
3. Select the installation folder or keep the default path, then click “Next“.
4. Confirm the creation of a Start Menu shortcut, then click “Next” again.
5. Click “Install” to begin the installation.
6. Wait for the installation to complete. Grant the application permissions if required.
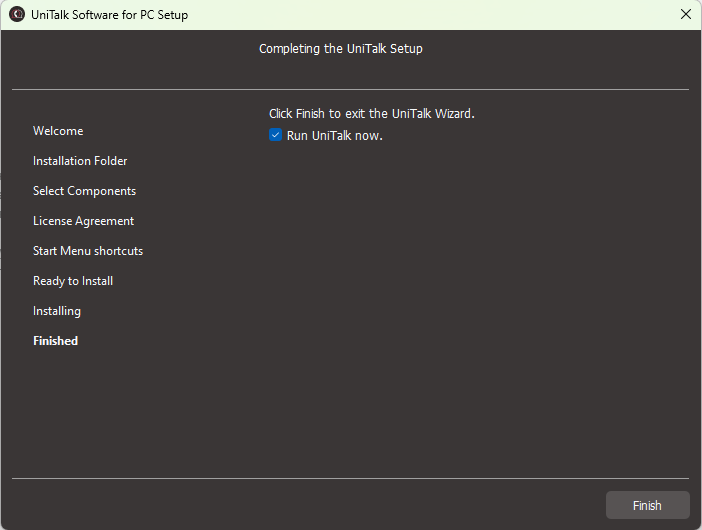
7. Check the “Run UniTalk now” option and click “Finish“.
3. Authorization in the application
Upon the first launch, the login window will appear. There are two available authorization methods:
- Using your UniTalk Account
- Using your Custom SIP-Account

3.1 Authorization Using UniTalk Personal Account Credentials
- Enter the login and password for your UniTalk personal account.
- If your account is linked to multiple projects, select the desired project.
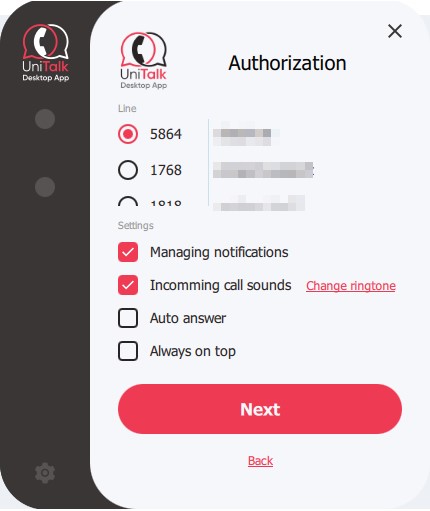
- Specify the incoming call parameters and click “Log In”.
To proceed, your account must be assigned to a workplace within the project.
To log in, enter the credentials (login and password) for the UniTalk personal account associated with your project, where [your e-mail] is the email address you provided during registration in the UniTalk personal account, and click “Log In”.
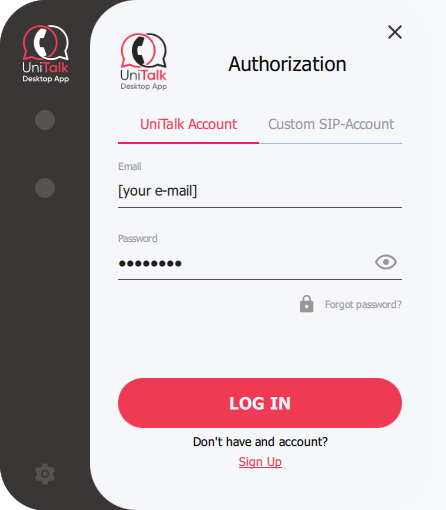
If your account is associated with multiple projects, select the desired one. Then, configure the preferred application settings for incoming calls and click “Log In”.
Authorization completed!
3.2 Authorization Using SIP Line Credentials
Alternatively, you can log in to the application using your SIP line credentials. In this case, it is not required for the workplace to be assigned to a specific user within the UniTalk project.
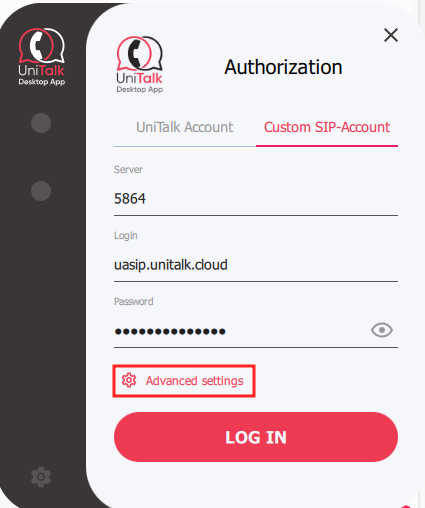
1. Go to the tab “SIP Account”
2. Enter:
- Server: uasip.unitalk.cloud
- Login: your workplace number
- Password: your workplace password
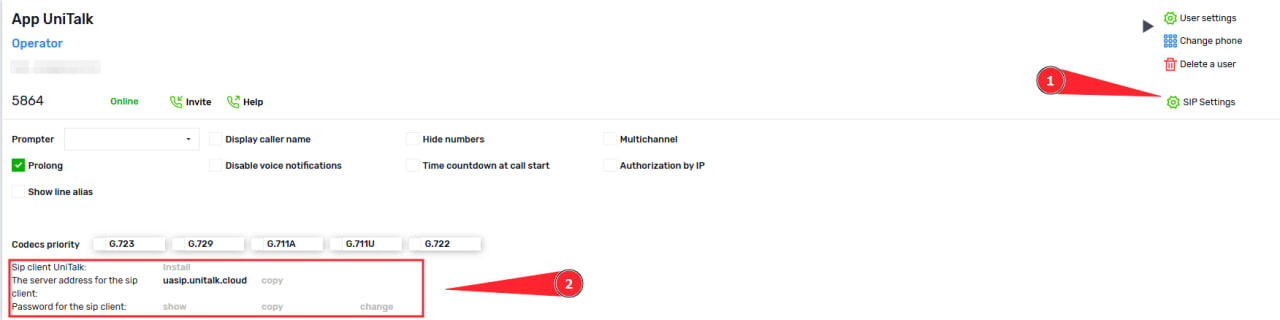
You can find this information in the UniTalk personal account of your project, under the “Users” section. «Users». Go to the SIP Settings section and copy the credentials for the workplace:
If needed, open “Advanced Settings” to specify additional configurations.
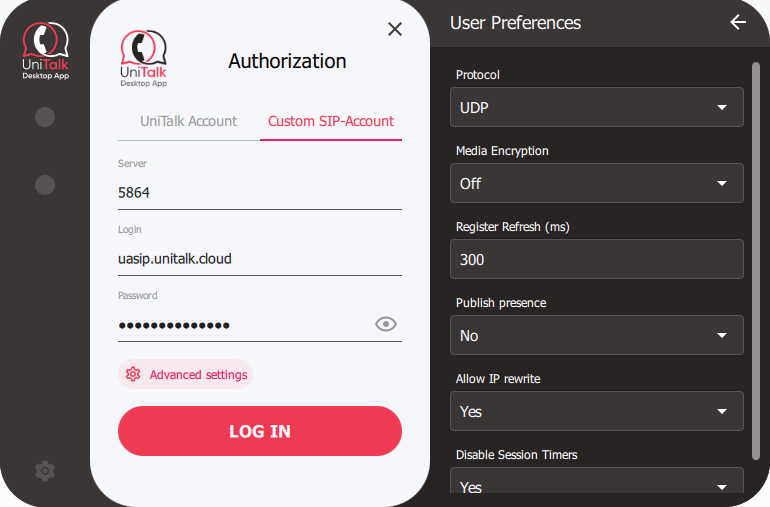
Advanced Settings (optional)
The “Advanced Settings” section is available when logging in via a SIP account.
It is intended for manually configuring additional connection parameters (such as port, protocol, timeout, etc.).
Filling in these fields is optional — in most cases, the application works correctly with the default settings.
If you are unsure what needs to be changed, simply leave this section as is.
3. Click “Log In”.
Done! Authorization is complete. You can now use the application to make and receive calls.
4. Using the Application
On the main screen, you will see the key interface elements:
1. Your workplace line number
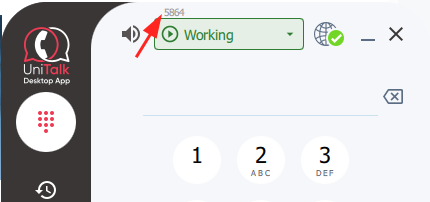
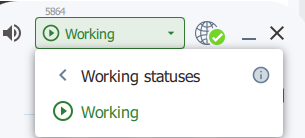
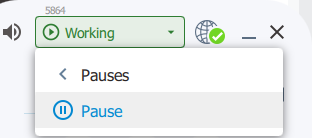
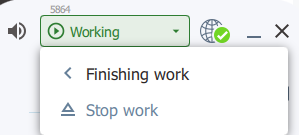
2. Work status control button (Working / Pause / Stop Work)
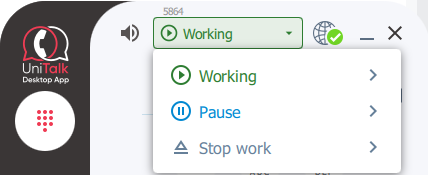
There are three work status categories:
- Working
- Pause
- Stop work
Each category can include multiple custom statuses, which can be created and configured in your UniTalk personal account.

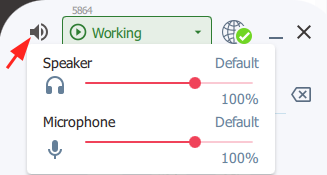
3. Button for controlling speaker volume and microphone sensitivity
4. Network connection status

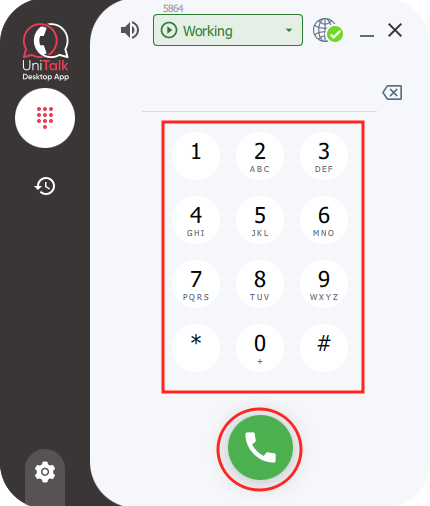
5. Dial pad for entering a number and the call button
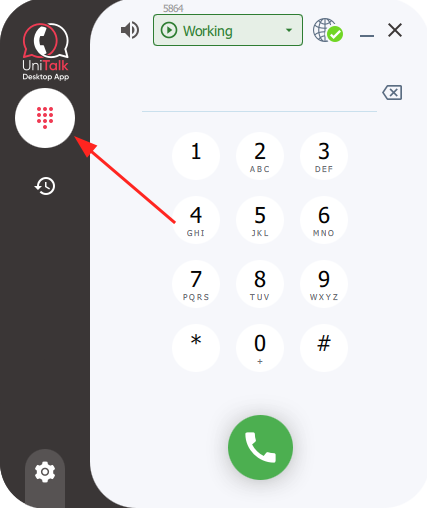
6. Button to navigate to the “Dial Number” section
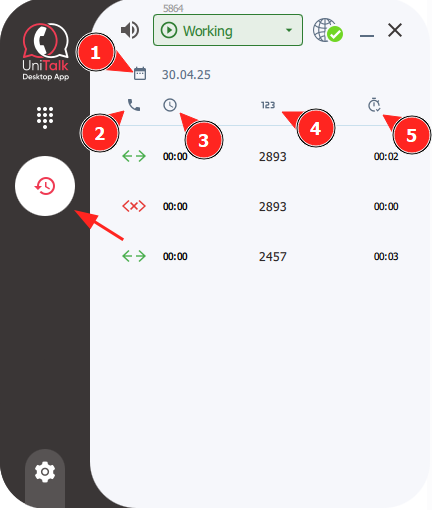
7. Button to navigate to the “Call History” section
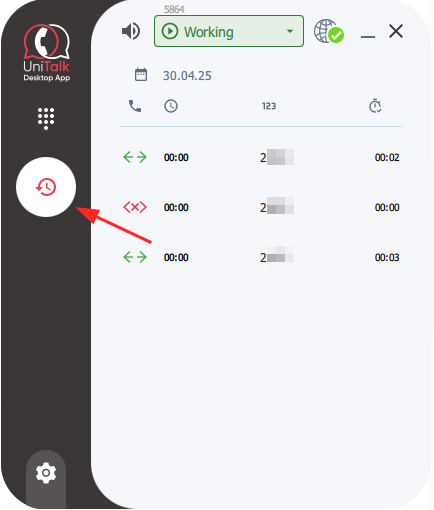
In the “Call History” section, you will see the following elements:
- Call history filter by selected date
- Call status
- Total call duration
- Subscriber’s number
- Talk time duration
8. Button to navigate to account settings
In the account settings section, you will see the following elements:
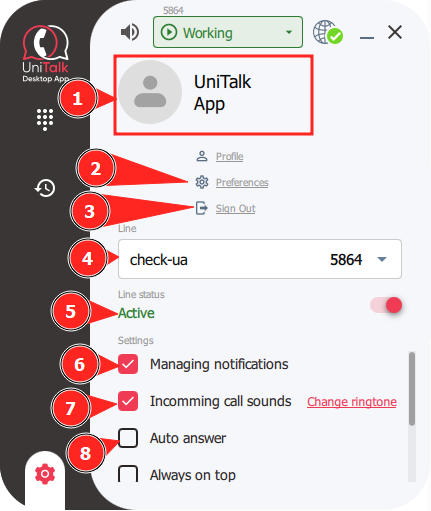
- User information
- Application settings
- Log out of the account
- Project and workplace selection
- Line status and the option to deactivate it
- Message handling, required for proper integration with CRM systems and more
- Call sound – enable/disable ringtone and change the ringtone
- Auto-answer – when enabled, all incoming calls will be answered automatically
Additional settings:
9. Always on top – when enabled, the application will always stay on top of all other window

10. Scale – adjust the interface scale as a percentage.

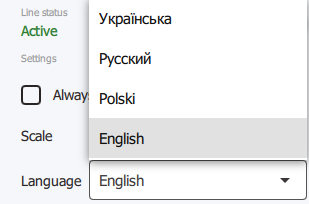
11. Language – select the application language.
You can now fully use the UniTalk application to handle phone calls. If you encounter any difficulties, please contact UniTalk technical support.


