INSTRUCTION FOR CONNECTING AND SETTING UP UNITALK AND CRM MONDAY.COM WORK OS INTEGRATION
The monday.com platform is a flexible workspace for business process management that, through UniTalk, transforms into a functional CRM with robust telephony and chat capabilities. This integration automates lead creation, allows you to track order statuses during live calls, and stores all communication history in one place, significantly boosting team productivity.
Preparation of the monday.com platform project
Note. You must be logged in to an account with account administrator privileges before you can complete the monday.com Work OS platform project preparation recommendations.
❓ You can read more about what an account administrator is and how to become one at this link.
The monday.com Work OS platform is not an out-of-the-box CRM system. In order to use monday.com Work OS as a CRM system, you need to add the tables you need. You can use ready-made templates, for example, add a standard CRM template in the workspace.
To do this, you need to:
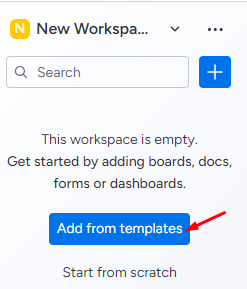
1. In the workspace section, click on the “Add” button;

2. In the dialog box that opens, select the “Add from templates” option;
3. In the template library, select “CRM” from the list, or by searching for it;
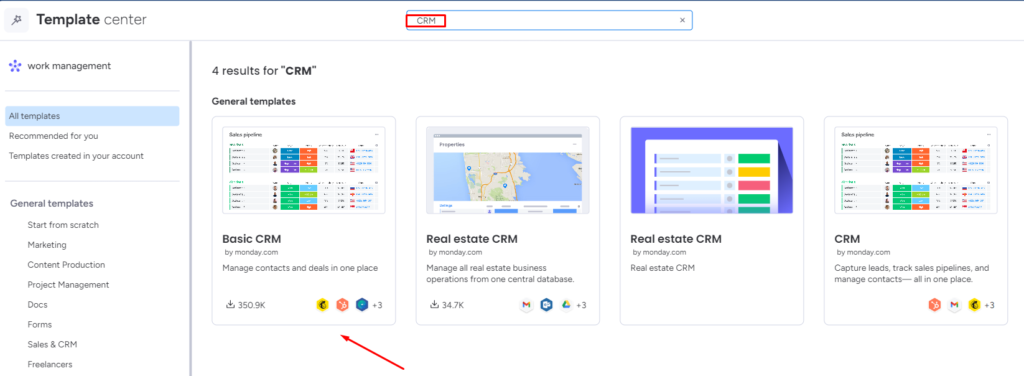
4. In the template page that opens, click the “Use Template” button.

Connecting integration
To connect the c monday.com Work OS integration, you must:
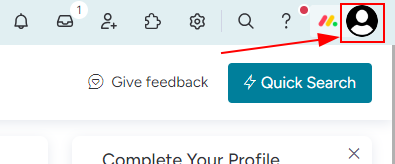
1. At the bottom of the monday.com Work OS navigation bar, click the user icon;
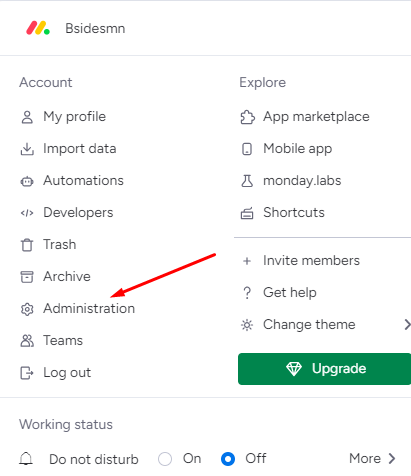
2. In the dialog box that opens, select the “Admin” item;
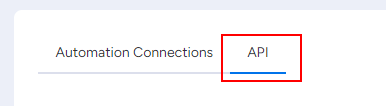
3. On the opened administration page, select “API” in the list of sections;
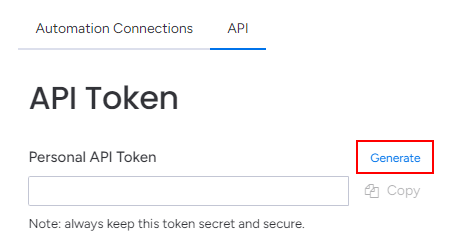
Note. In case the personal token has not been previously created, in the opened section you should press the “Create” button.
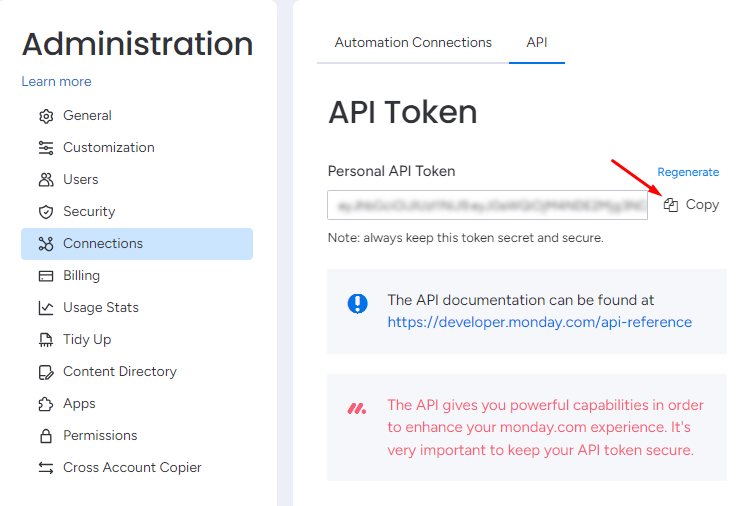
4. Copy the personal token for the API by clicking the “Copy” button;
5. In your personal UniTalk cabinet go to the “Monday” page of the integration section;
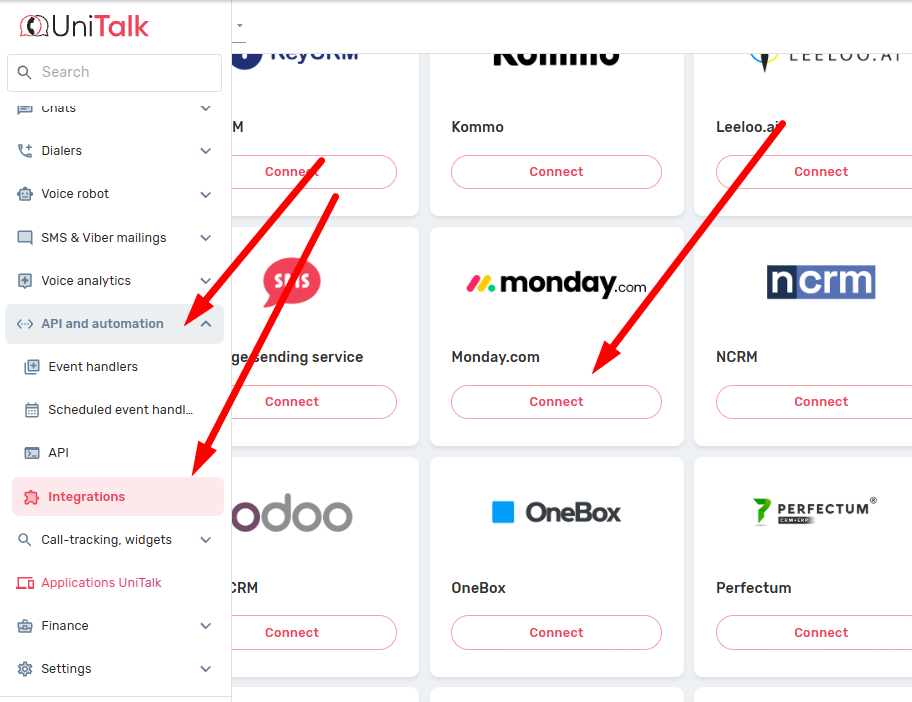
6. On the page that opens, paste the copied personal token into the “API key” field and click the “Connect” button.

Customizing the integration
Once the integration is connected, the page will display sections of its settings:
- Settings;
- Main entity settings;
- Related entity settings;
- Assignment of responsible persons for missed calls;
- Operators’ phone numbers.
Settings section
The “Settings” section allows you to define the main and related entities (Figure 12). For correct customization, the following requirements must be met:
- The main entity should be a board that contains a column with a phone number;
❓ You can read more about the types of columns in monday.com Work OS at this link.
- To add a related entity, the board of the main entity must contain a column with a link to this related entity.
❓ You can read about entity relationships in monday.com Work OS at this link.
In addition, the section provides the ability to enable the following features:
- Create entities only for answered calls;
- Display the responsible person during incoming calls in the SIP client.
When you select a linked entity, two additional fields are displayed:
- The related entity field — allows you to specify the column of the main entity by which the related entity will be selected;
- The main entity field — allows you to specify the column of the related entity by which the main entity will be selected.
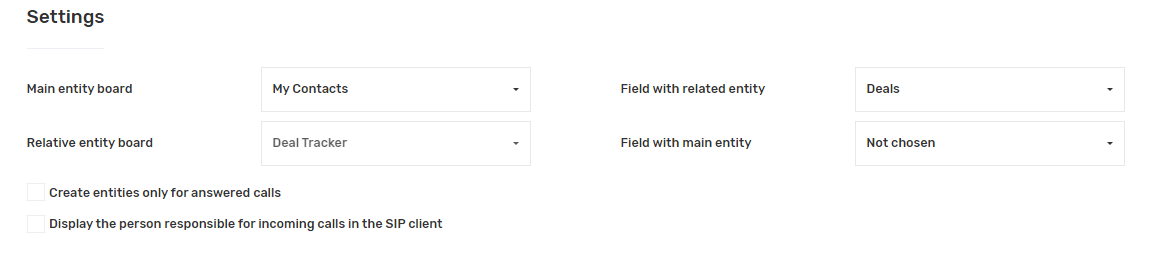
Figure 12
Main Entity Settings section
The “Main Entity Settings” section allows you to customize the scenarios for working with the main entity. For correct customization, the following requirements must be met:
- To track the responsible employee, the board of the main entity must contain a column that includes a link to the employee (column type “People”).
❓ You can read more about the types of columns in monday.com Work OS at this link
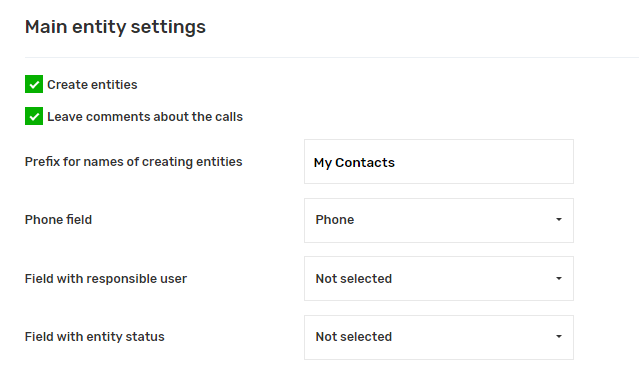
In addition, the section provides the ability to enable the following features:
- Create an entity;
- Leave comments about calls.
When you enable the entity creation option, additional creation customization fields are displayed:
- Prefix for created entity names — by default, it matches the name of the main entity board;
- Entity status field — to track the entity status, the main entity board must contain a column with the corresponding value (column type “Status”);
- Statuses in which the entity is considered closed — the list corresponds to the full set of allowed statuses and supports multiple selection;
- If there is no open entity — allows you to choose the system behavior in cases where the corresponding main entity is found, but its status is included in the “closed” list.
In addition, two additional subsections are displayed:
- Filling in entity fields;
- Distribution of entities from sources by groups and statuses.
Filling Entity Fields subsection
The Entity Field Filling subsection allows you to define the values that will be automatically inserted into the corresponding fields when creating new entities or updating old entities.
To customize the field filling you should:
1. Click on the name of the field of interest;

2. In the displayed drop-down list, select the data source;
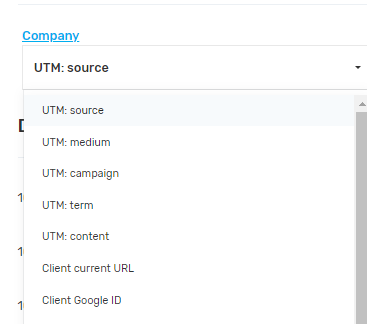
Мал. 15
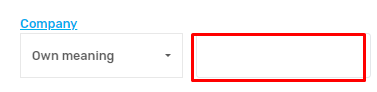
3. In case “Own value” is selected, fill in the value field.
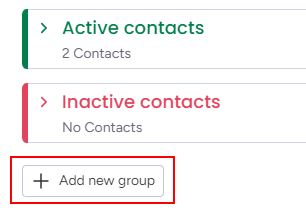
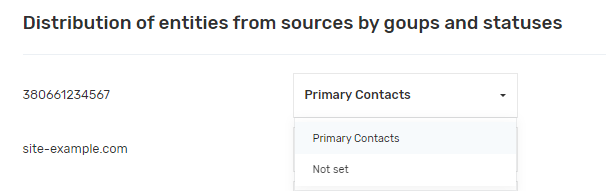
Section “Distribution of entities from sources by groups and statuses”
To be able to customize the distribution, the following requirements must be met:
- At least one source (website or external line) must be added to the project;
- To configure distribution by statuses, the entity settings must have a field selected for its status.
The list of groups in the distribution matches the groups on the entity board in the monday.com Work OS.
Related Entity Settings section
The “Related Entity Settings” section repeats the “Main Entity Settings” section in terms of functionality and method of use.
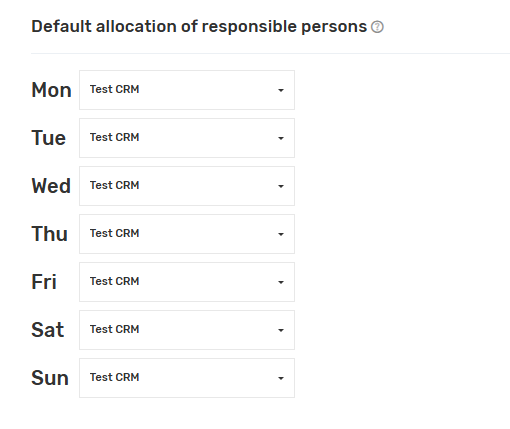
Missed caller distribution” section
The “Missed caller allocation” section allows you to select the person responsible for missed calls from the list of monday.com Work OS users for each day of the week.

Мал. 19
Section “Operator Phone Numbers”
To set up automatic calls from monday.com Work OS, in the section “Operator Phone Numbers” for each monday.com Work OS user, a phone number must be specified. These can be internal lines or a GSM operator.
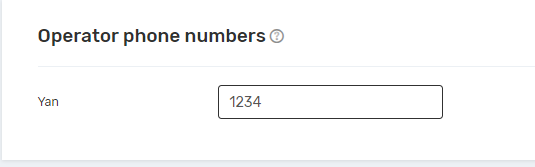
Мал. 20
Please note! Users who do not have a phone number specified will not be able to make calls from CRM Monday.
❓ You can read about how to add users to the monday.com Work OS via this link, and here is the full admin guide
Integration with UniTalk Chat
When starting a chat, ending a chat, and updating chat fields, the integration can create/update entities in the CRM system and add comments. For the integration to create entities and add comments, the client in the chat must have filled in the user field with their phone number in the authorization form. Without the client’s phone number, it is impossible to create an entity. The number must be specified in full format (for Ukrainian numbers, the local format is suitable — without the 38 prefix).
Also, don’t forget to set the main and related entity settings in the same way as in steps 4-7 and 10
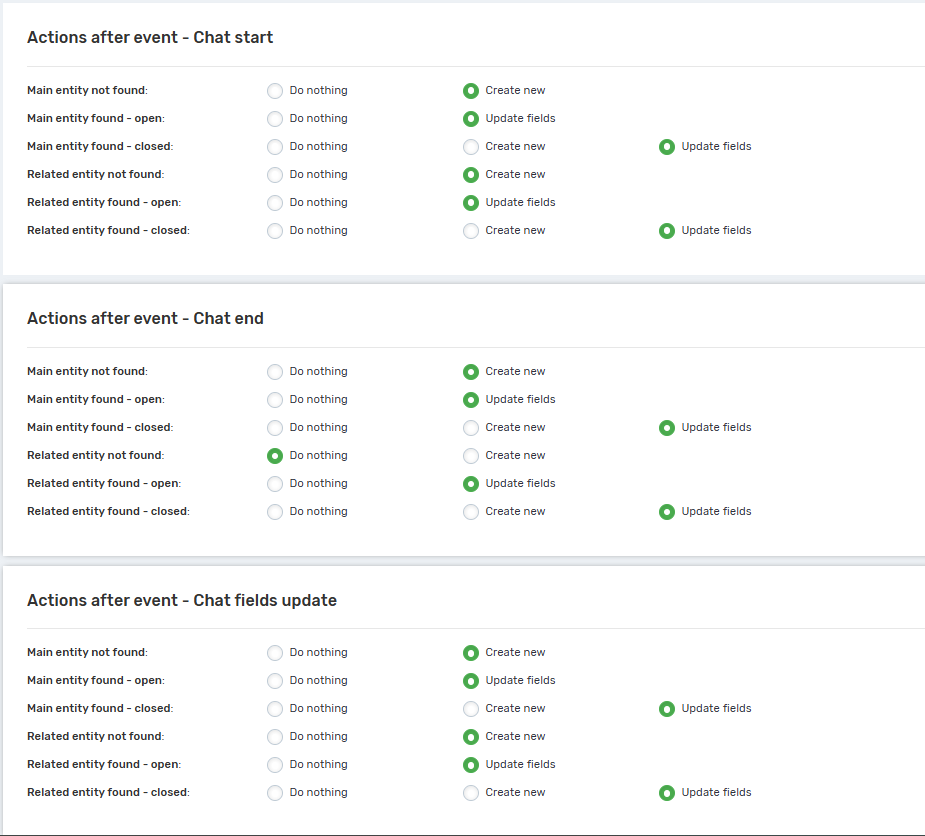
In the “Chat settings” block, specify for each chat event what actions to perform with entities in which cases.
Select those responsible for the created entities in cases where it was not possible to determine who was responsible (by default, the operator who wrote in the chat becomes responsible for the created entities).
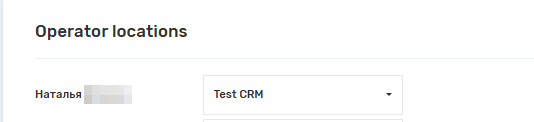
In the operator location block, match project users in UniTalk (name on the left) with CRM users (drop-down list on the right).

After making the appropriate changes, click “Save settings for chats”.
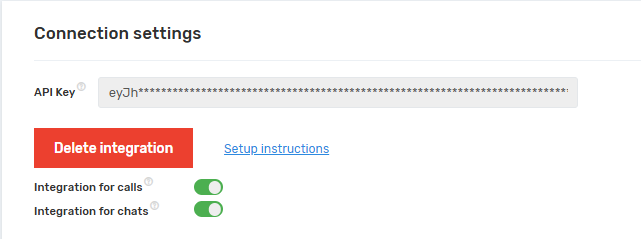
After successfully saving the settings, enable integration for calls and/or chats, if necessary.
The integration setup is complete. Your monday.com boards are now automatically populated with objective data regarding every call and message. This not only saves managers’ time on manual data entry but also provides transparent quality control over customer service. Should you need assistance with entity mapping or assigning responsible parties, our support team is available 24/7.


