Setting up a ZoiPer softphone on Ubuntu
Working in a Linux environment requires reliable communication solutions, and ZoiPer is one of the best softphones available for this operating system. Thanks to its full compatibility with UniTalk IP telephony, you can transform your computer into a full-featured operator workstation in just minutes. This ensures high audio quality, connection stability, and allows you to stay in touch with customers without the need for additional hardware. Follow this step-by-step guide to quickly configure your SIP account on Ubuntu.
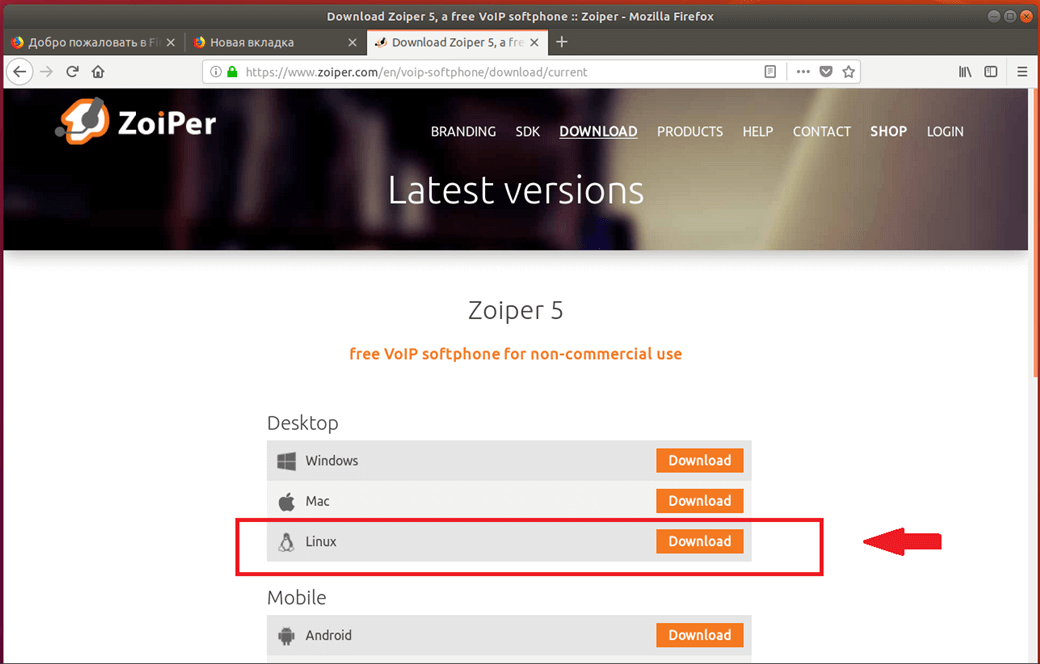
On the official ZoiPer website, in the download tab, select the Linux version and click Download.
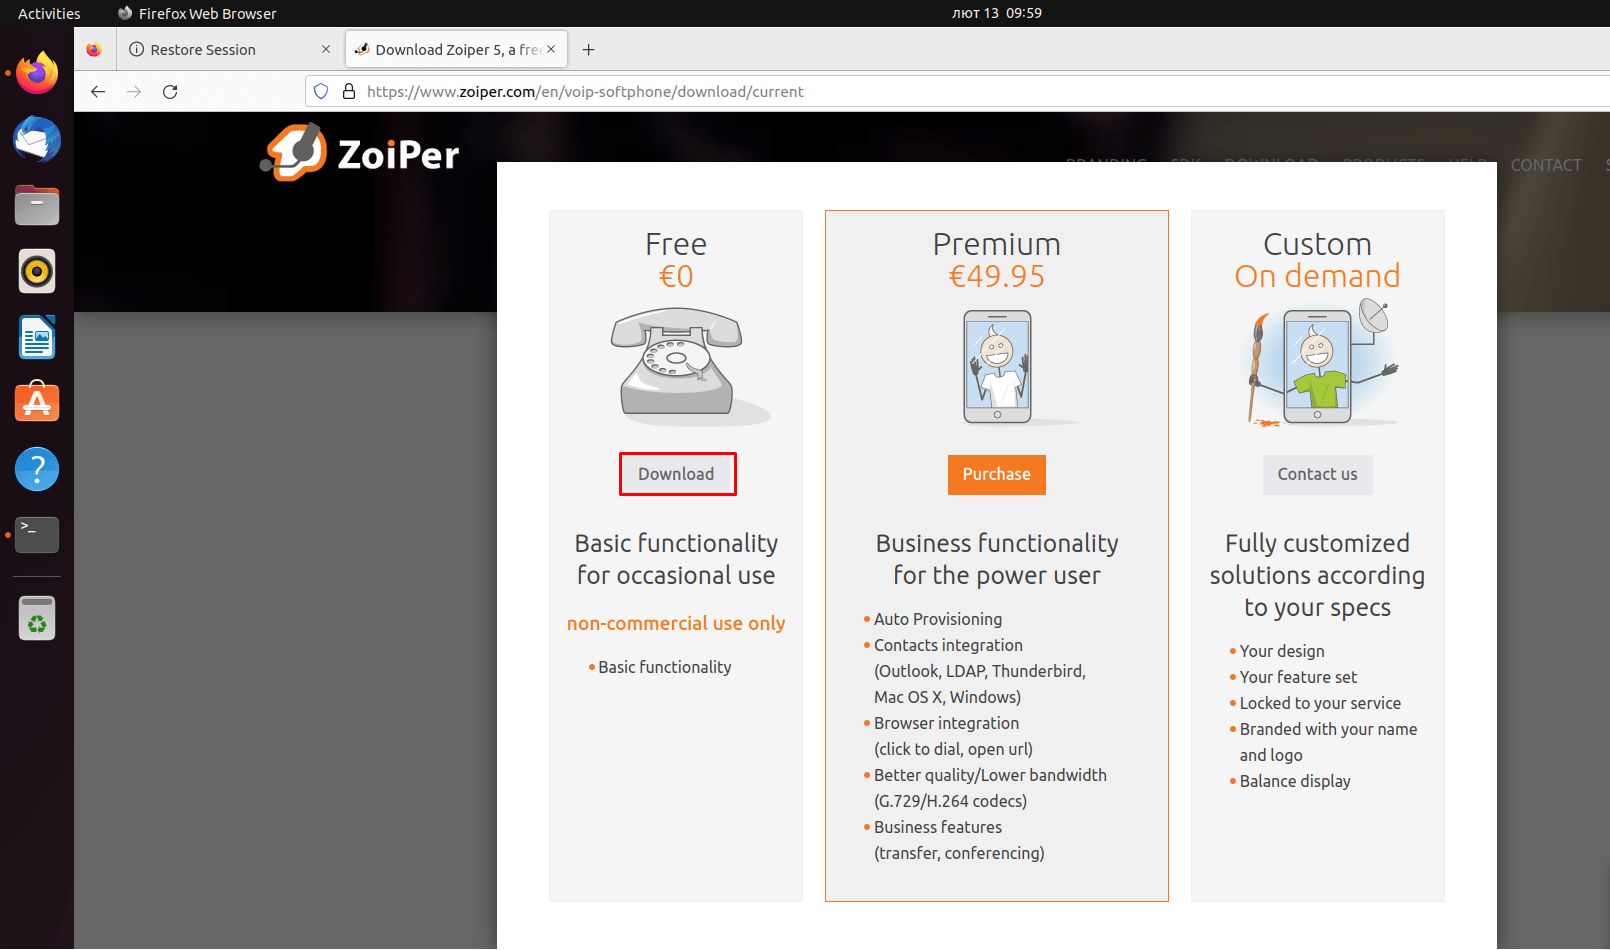
In the pop-up window, in the Free field, click Download.
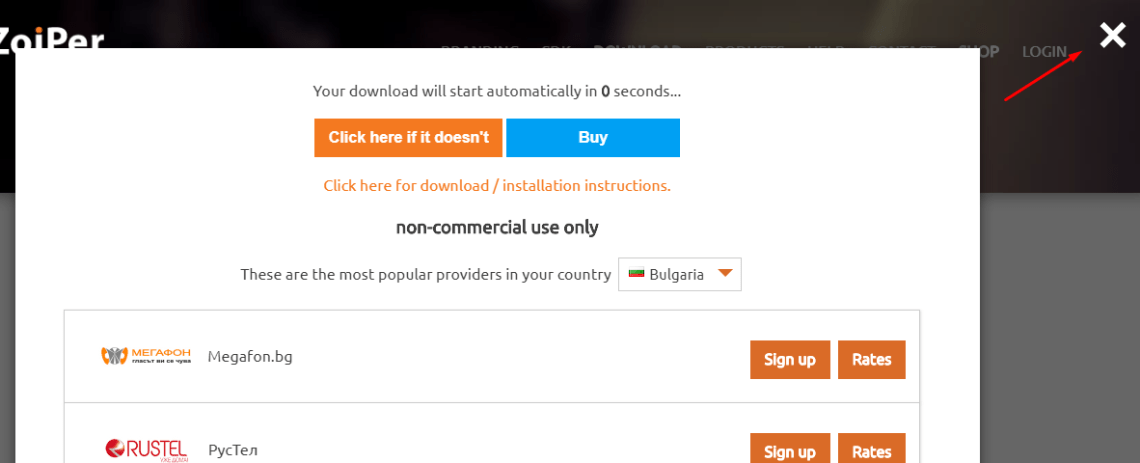
Once the download has started, you can close this window, and you won’t need it again.
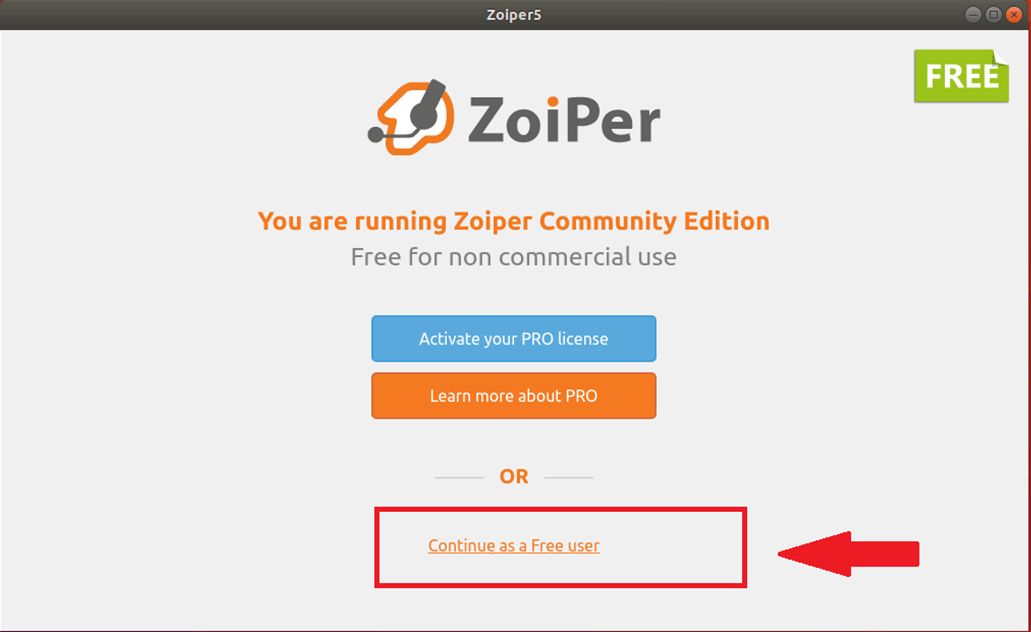
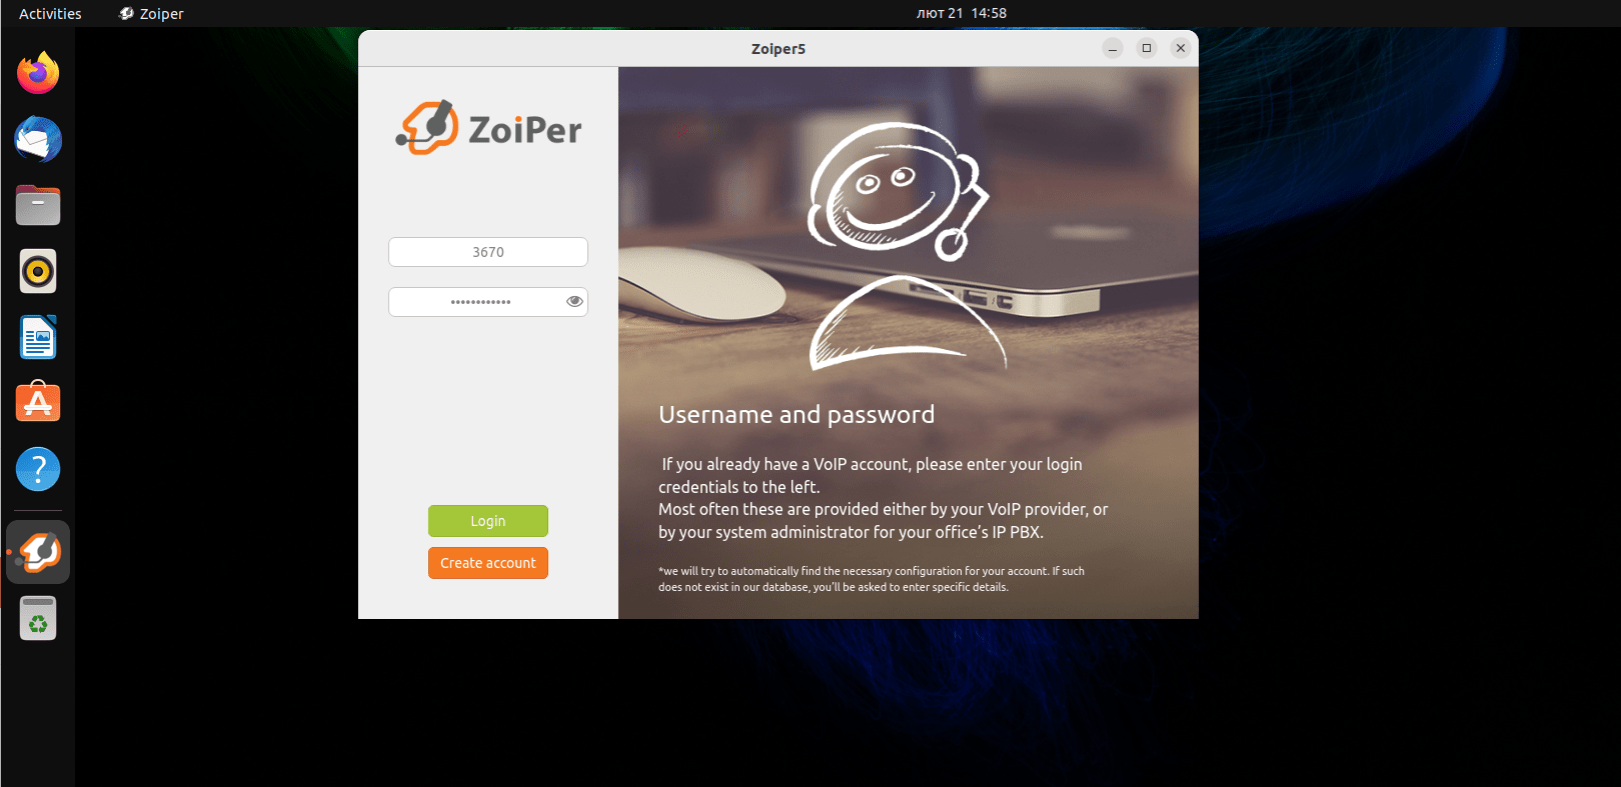
After the download and installation are completed, we are greeted by the softphone startup window, where we need to select Continue as a Free user.
To continue, you will need a login and password for the internal line, this information can be obtained in the UniTalk’s personal account user in the “Users” tab in the “Settings” section.
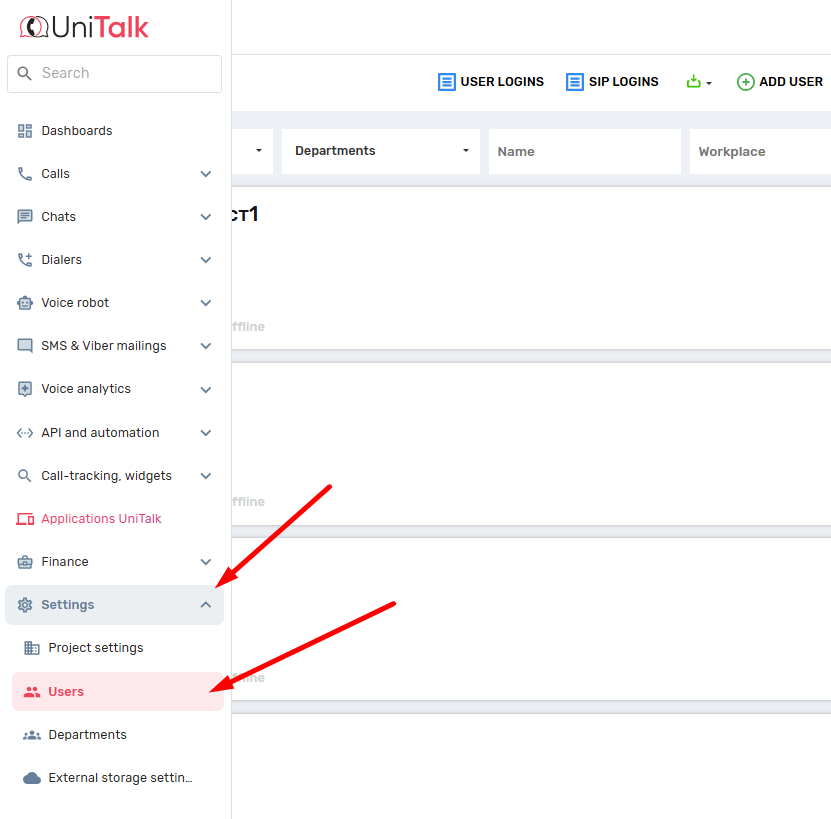
The login is an extension number, and the password can be found by clicking the “Show password” button.
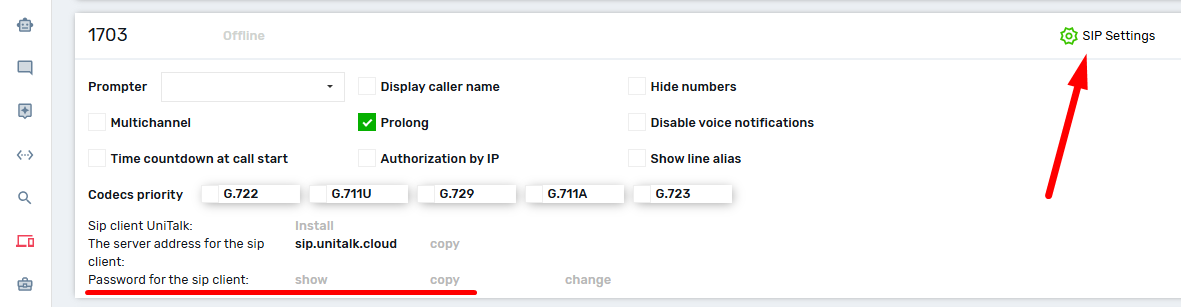
Return to the softphone and enter the extension number as a login and the SIP server name sip.unitalk.cloud or uasip.unitalk.cloud (as specified in the SIP line settings on the Users tab) with @, you also need to enter a password, and then click the Login button.
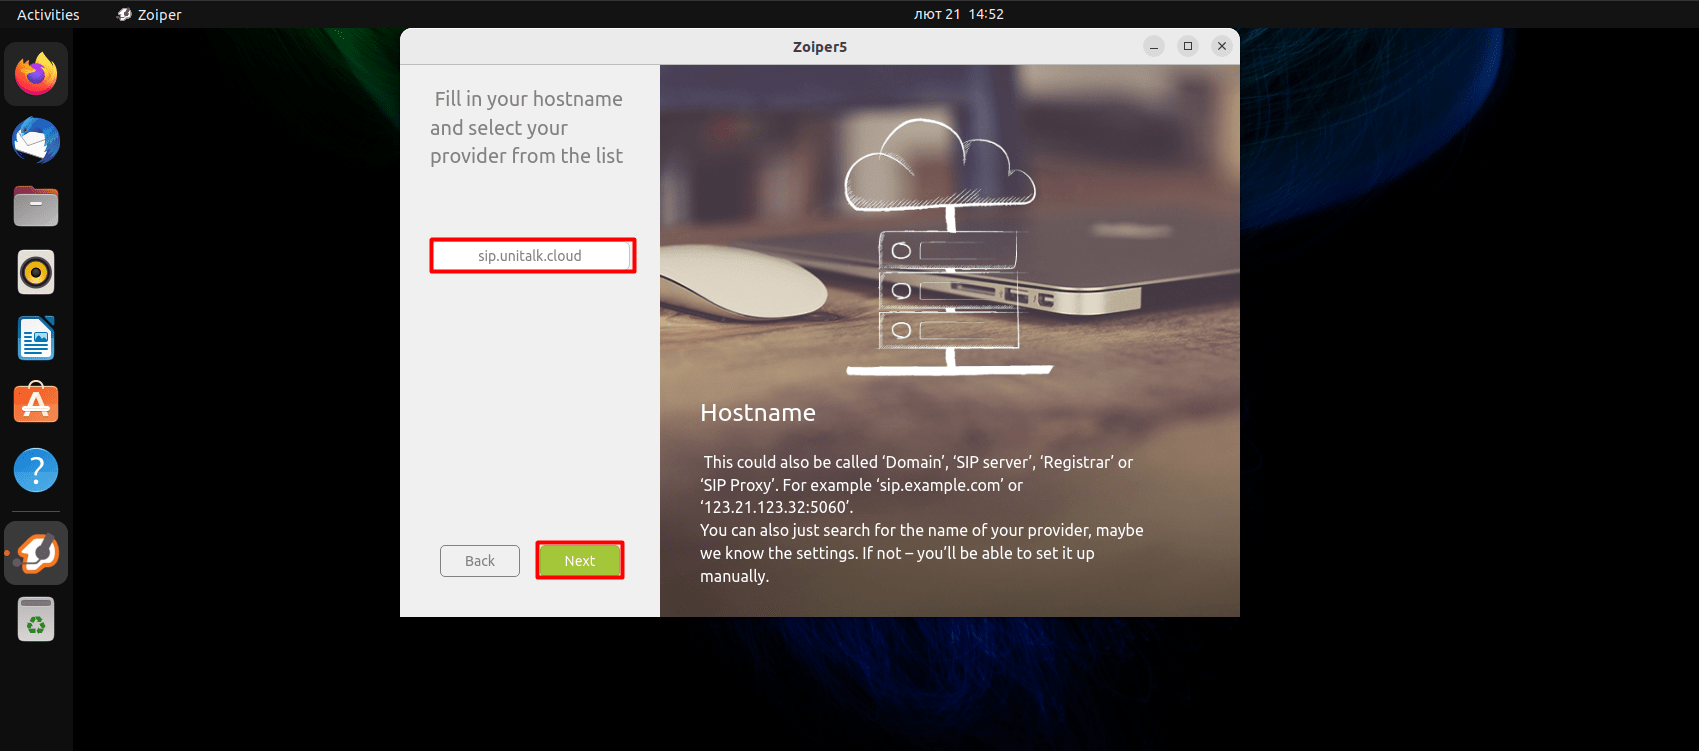
Next, ZoiPer will prompt you to specify a sip proxy or sip server, leave the default server and click Next.
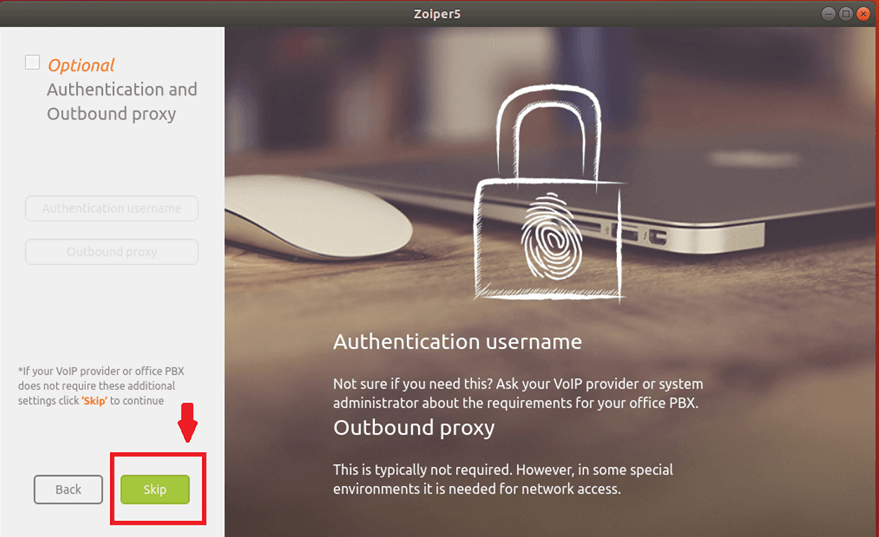
Next, we do not need to specify additional options, so uncheck the Optional checkbox if it was previously checked and click Skip
The next step is to test the ability to connect via different protocols, in our case SIP UDP is required, it should be highlighted in the checkbox and have the status (Found), if everything is fine at this stage, click Next, if not, go back to the beginning and check the correctness of the login and password, perhaps a space was added somewhere.

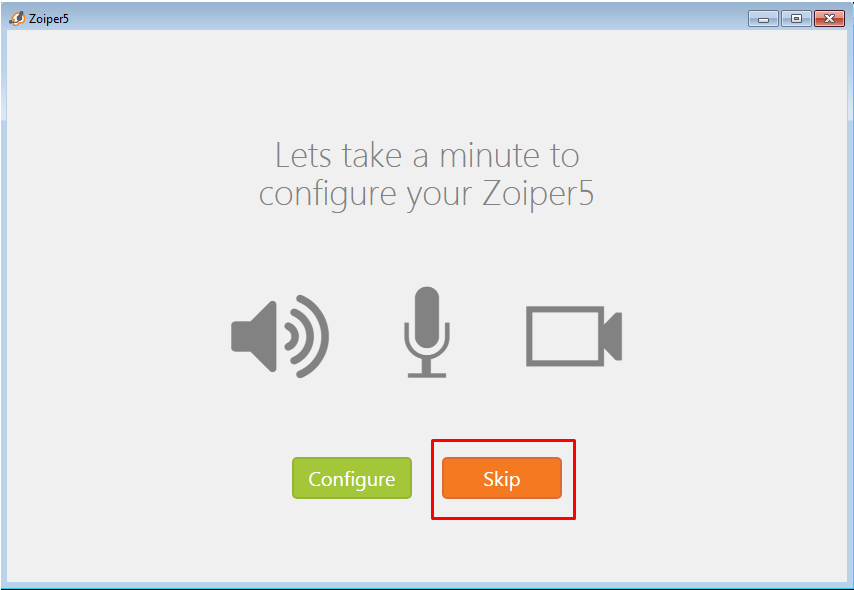
At this stage, the softphone will offer to check the settings of the audio input/output system, if the user wishes, you can do this, but as a rule, it makes sense to skip this step.
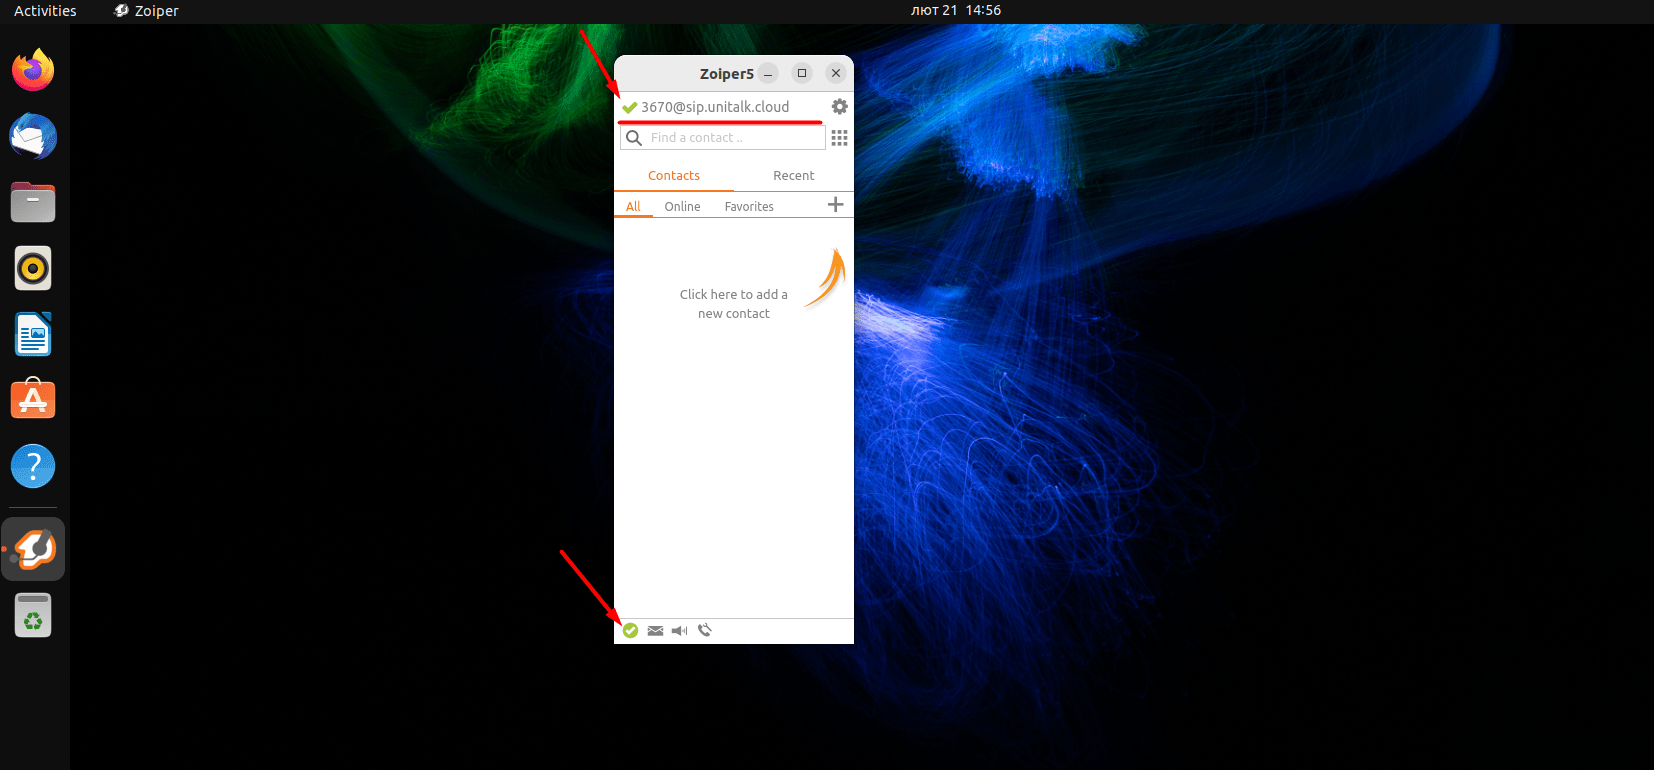
In the program window that opens, if everything is fine, there should be a green checkmark next to the account name, which signals successful authorization on the server.
The appearance of the green checkmark in ZoiPer indicates that your internal line is active and ready for use. You can now receive and make calls directly from your Ubuntu system, taking full advantage of UniTalk cloud telephony. Remember that a high-quality internet connection is essential for stable softphone performance. With UniTalk and ZoiPer, your workspace becomes mobile, professional, and highly efficient.


