Storing call recordings on external servers
The configuration for integration with external storage can be created only if the corresponding service is available in the project tariff. This service is available in the Corporation plan.
How to use the service
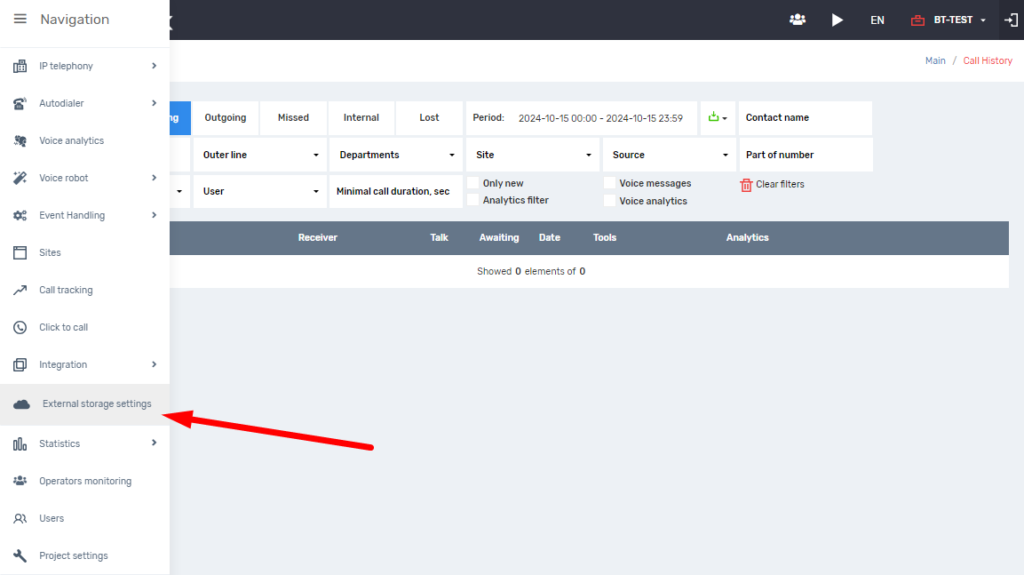
1. First, in your Personal Area, go to the “External storage settings” tab:
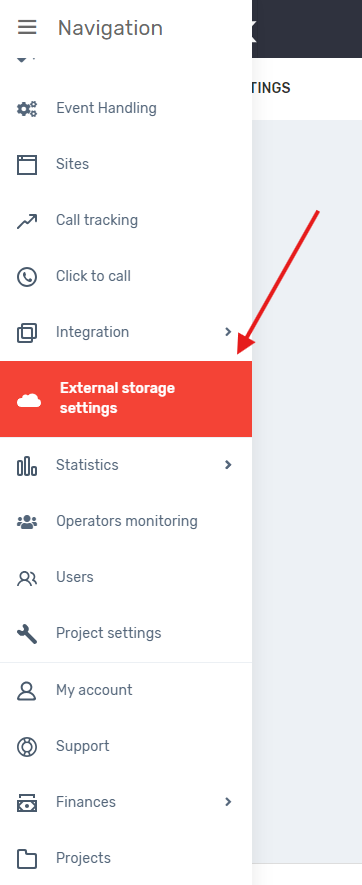
Then you need to click on “Add configuration”:

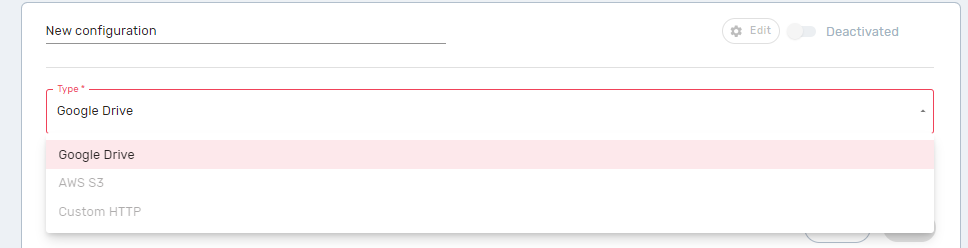
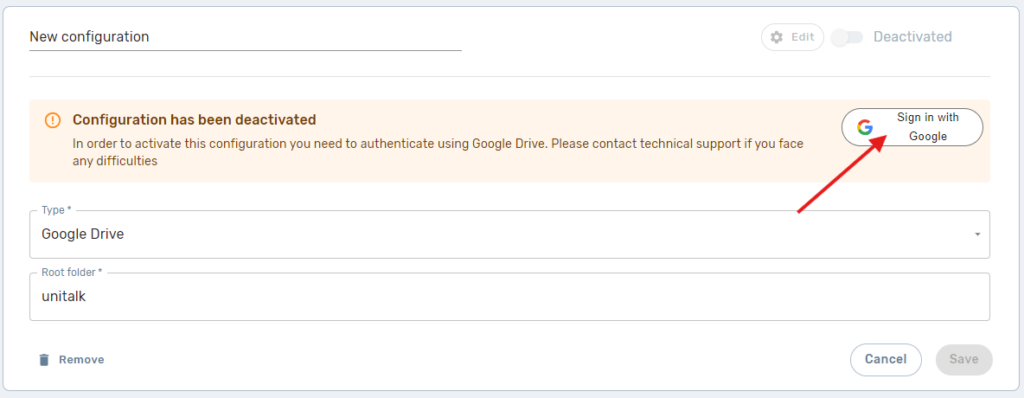
2. Specify the name of the configuration, and select Google Drive in the Type field:
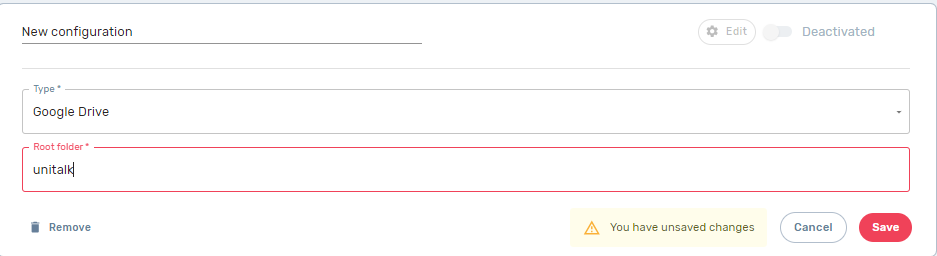
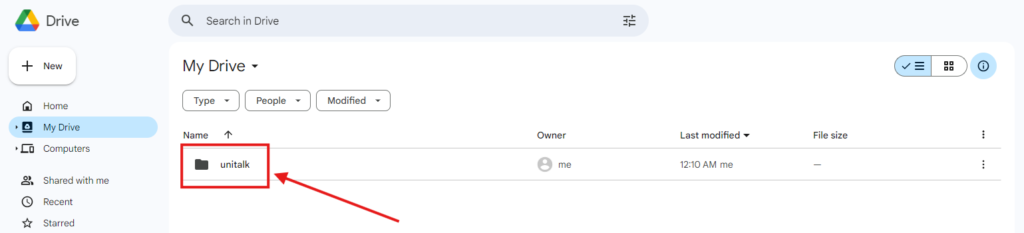
3. Next, in the Root folder field, you need to specify the name of the folder where call records will be stored (you do not need to create the folder manually):
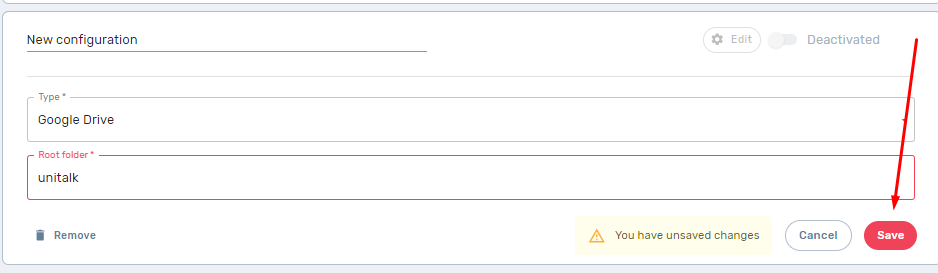
4. Save the configuration:
5. After that, click “Edit” the configuration we have created:

Next, select “Sign in with Google”:
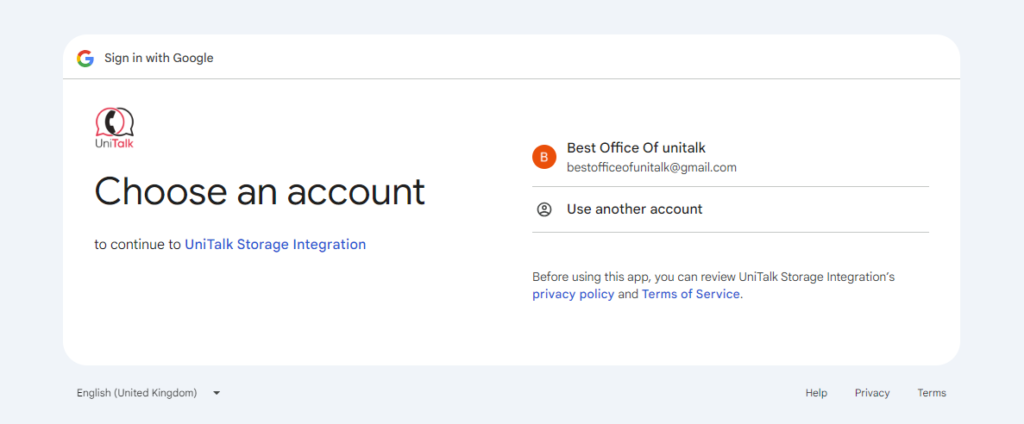
Select the required Account:
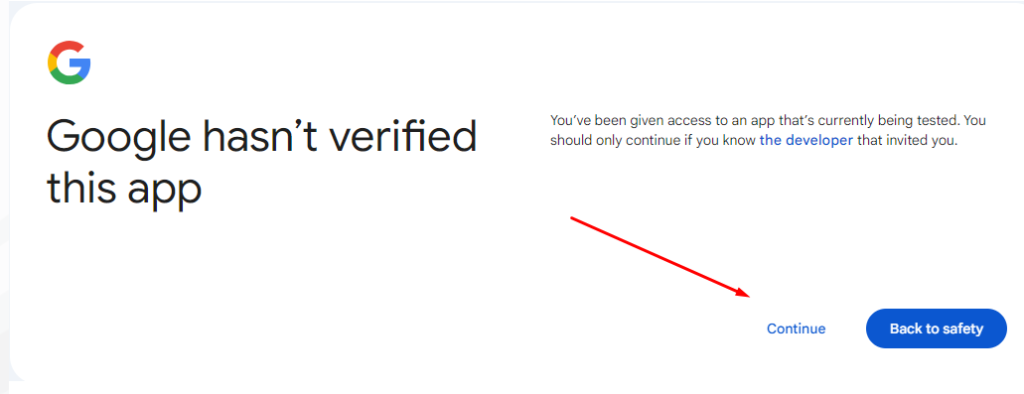
Click “Continue” :
Here we also click “Continue”:
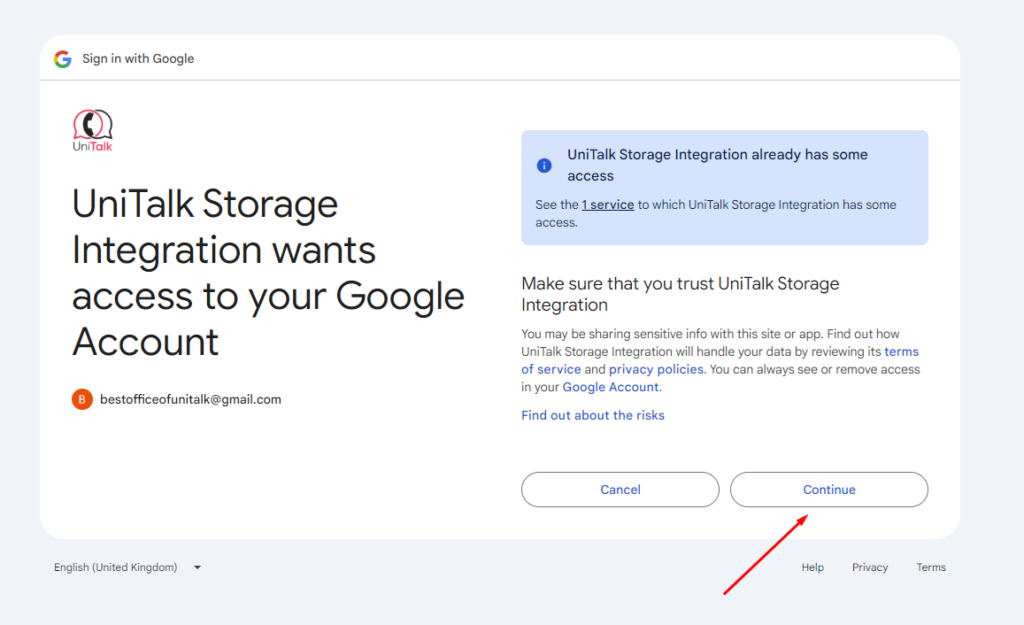
After successful authorization, we are returned to the page with the configuration of external storage in the personal account. It is also possible to activate the created configuration:
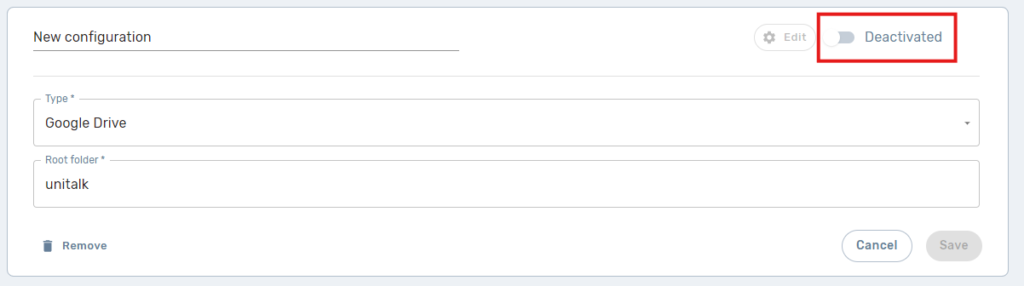
6. Activate the configuration:
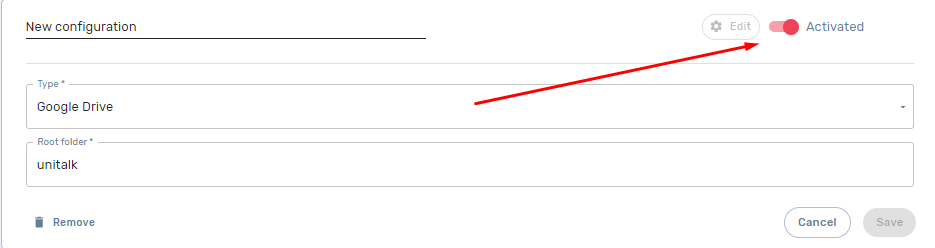
Call recordings are first uploaded to our server and then, if necessary, transferred to external storage. If the configuration is active, all old calls of the project are gradually transferred to the disk specified during Google authorization. New calls are transferred as soon as they are completed.
Also important:
- If the transfer was performed and then the configuration was deactivated, the records will be stored on our server. All migrated records remain available for download.
- If one configuration was activated first and then another, the recordings will not be transferred from one external storage to another.
- The link to the call recording remains unchanged, regardless of where it is stored.
Setting up external storage for audio recordings in AWS s3
1) In the Personal account, go to the “External storage settings” section
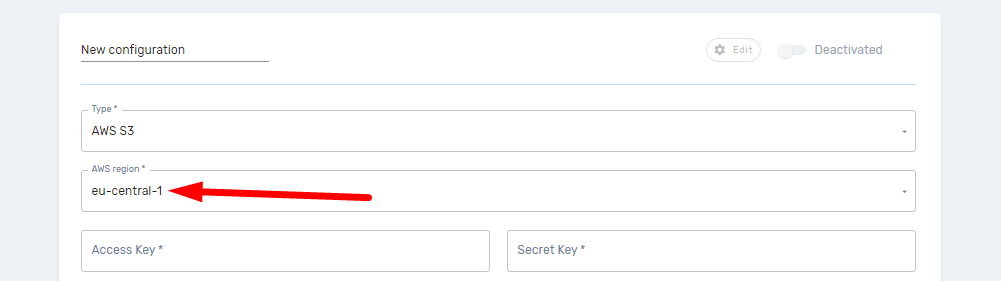
2) We add a new configuration and choose the storage type “AWS S3”.
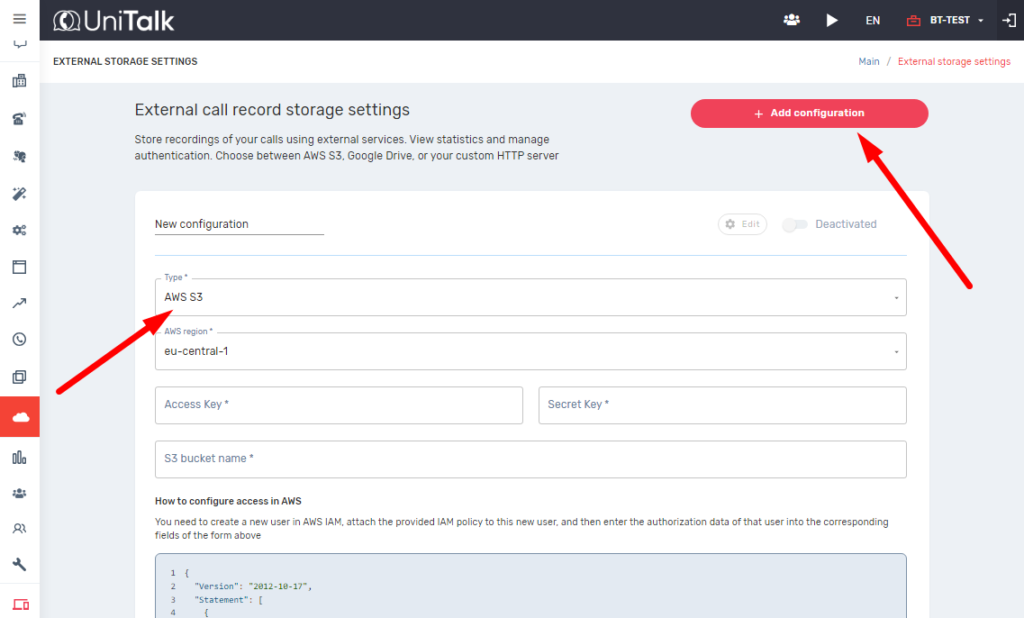
We specify the AWS region in which the desired S3 bucket is located.
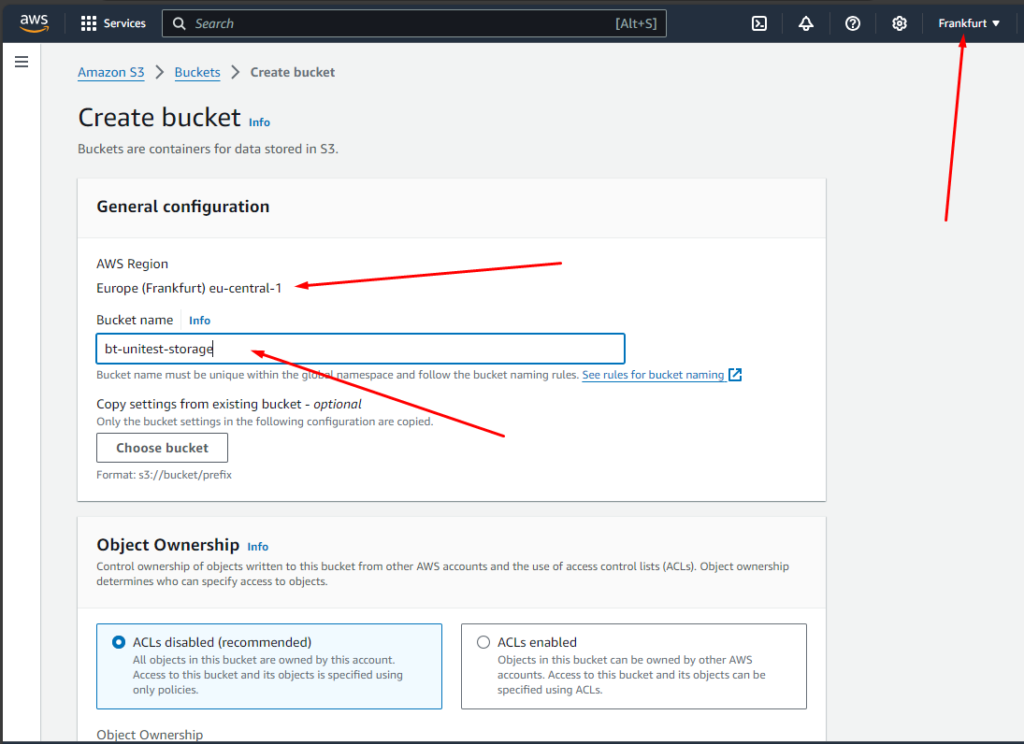
Creating a bucket:
Specify the name for our bucket
- Specify the name for our bucket
- Select the necessary region in which the bucket will be created
- Other settings can be left unchanged, and we confirm the creation of the bucket
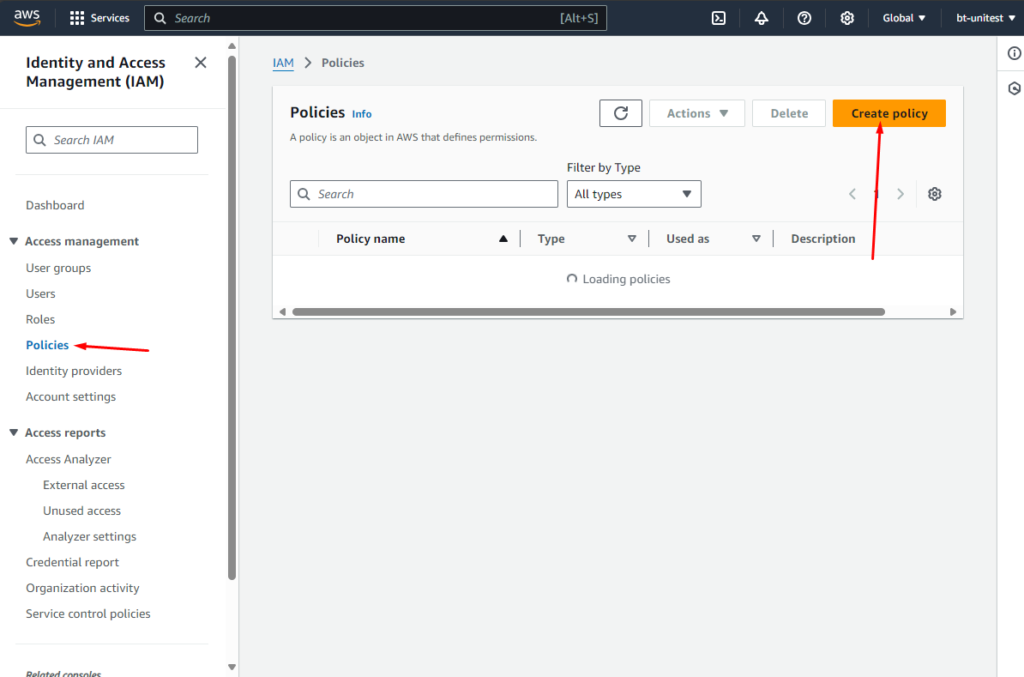
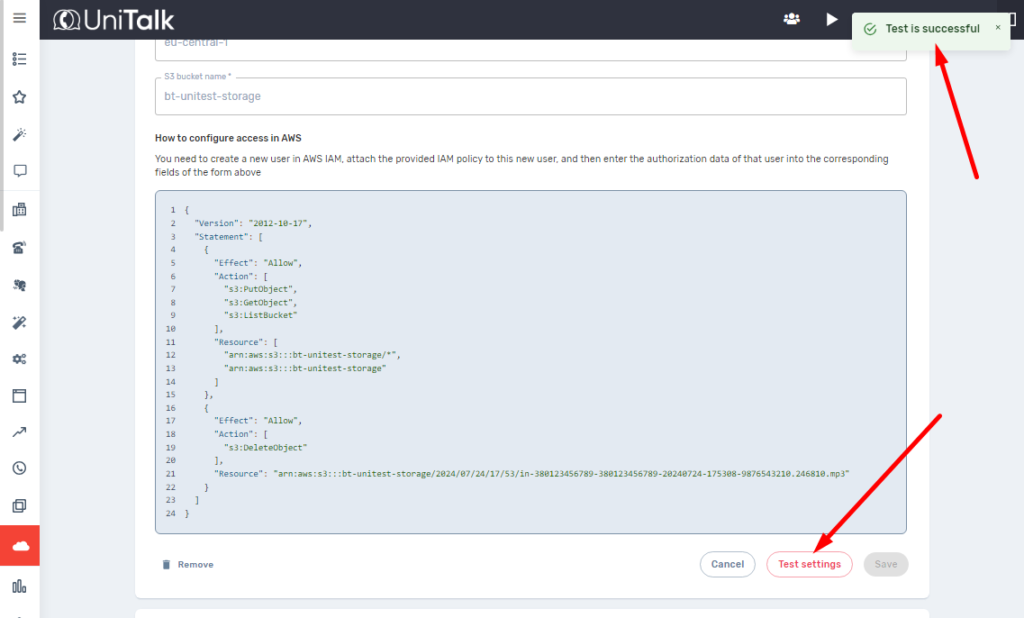
3) Creating the access policy needed to download audio from Unitalk to S3
– Go to Identity and Access Management (IAM) -> Policies, and create a new policy
– We copy the template with the necessary access rights from the Unitalk personal account. We choose the method of setting JSON access rights and move on to the policy settings
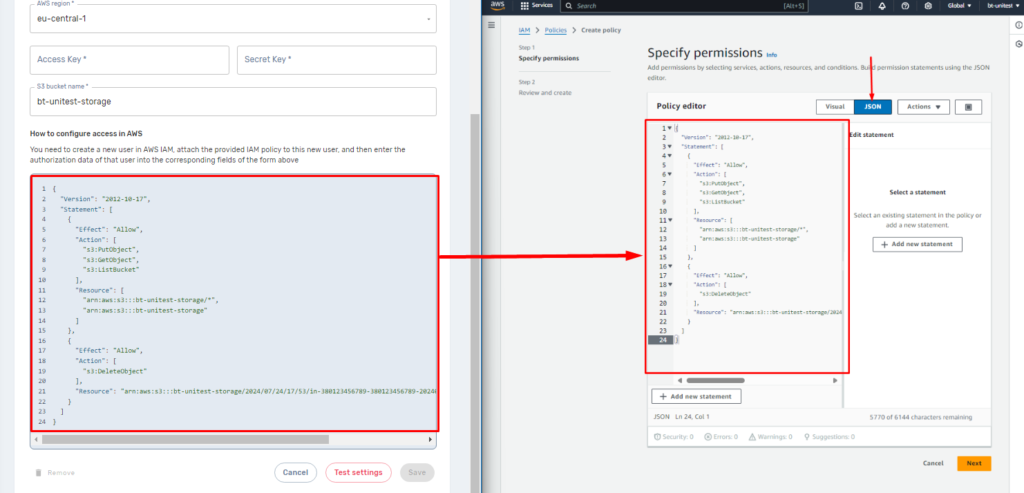
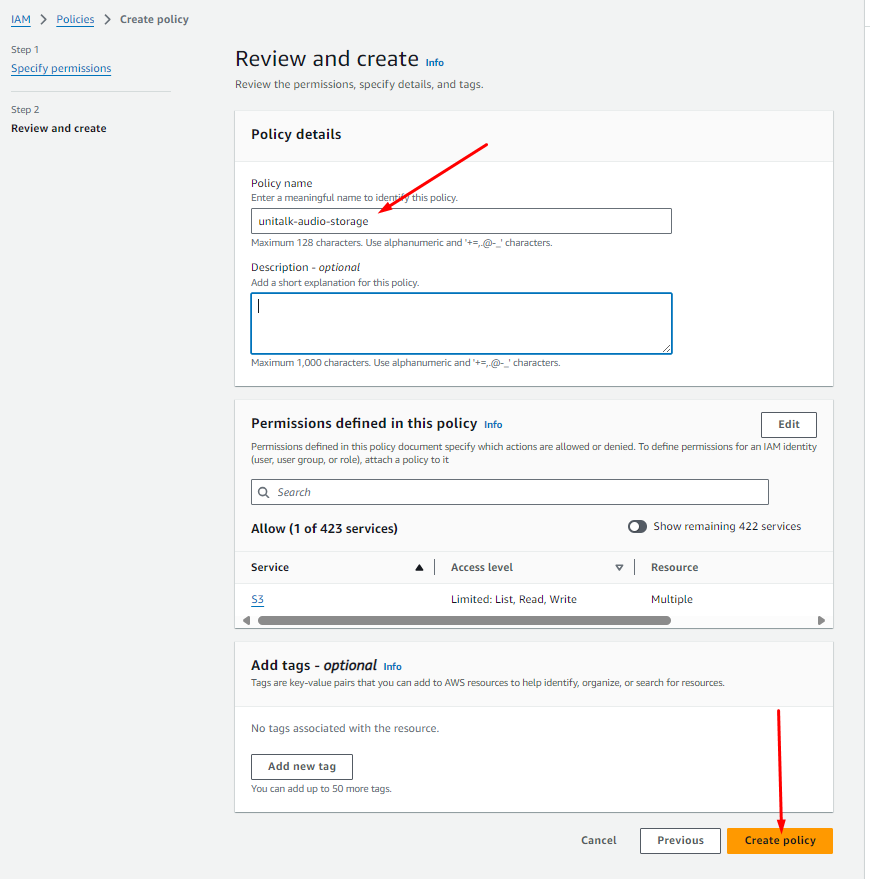
– Specify a name for the access policy and save it
4) Create user to upload audio from Unitalk to S3
– Переходимо до розділу Identity and Access Management (IAM) -> Users та створимо нового користувача
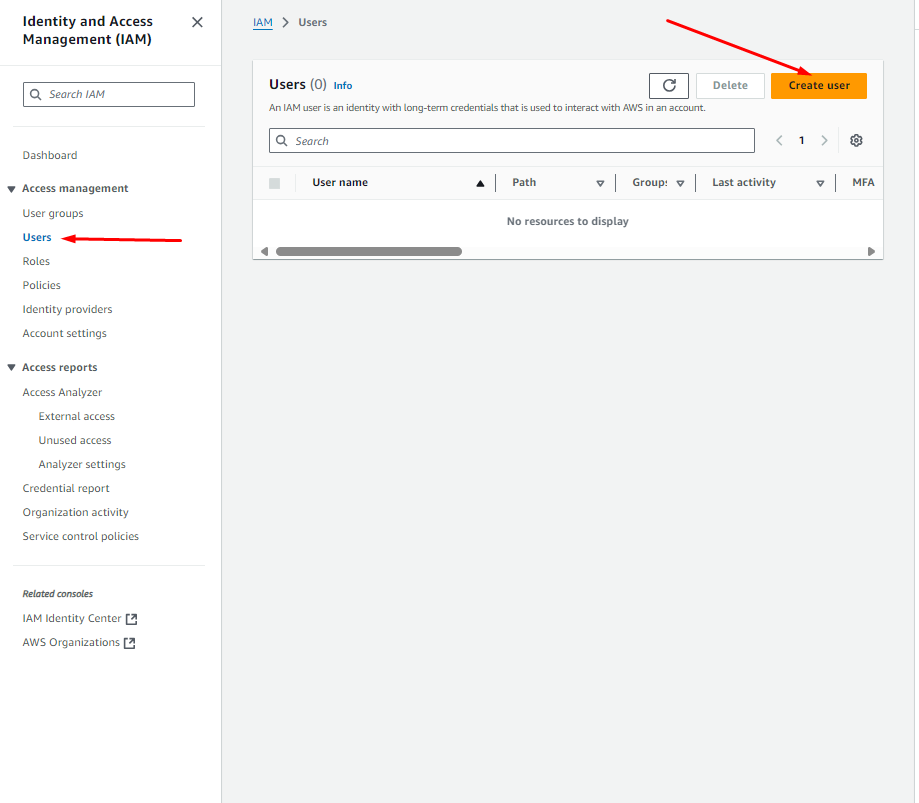
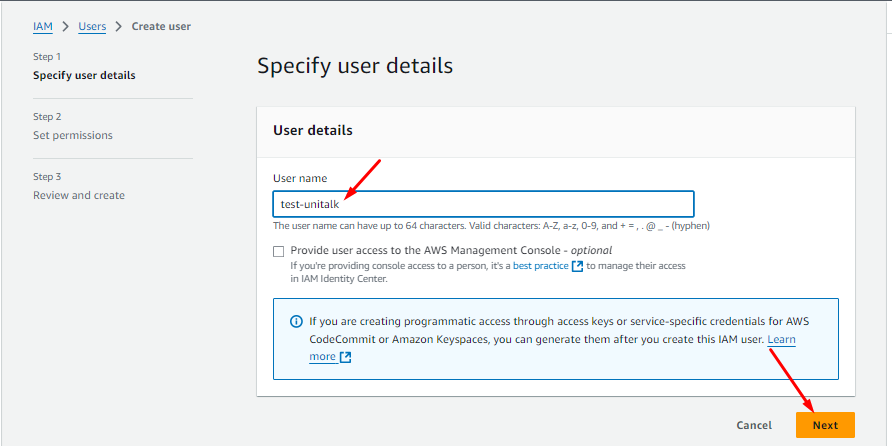
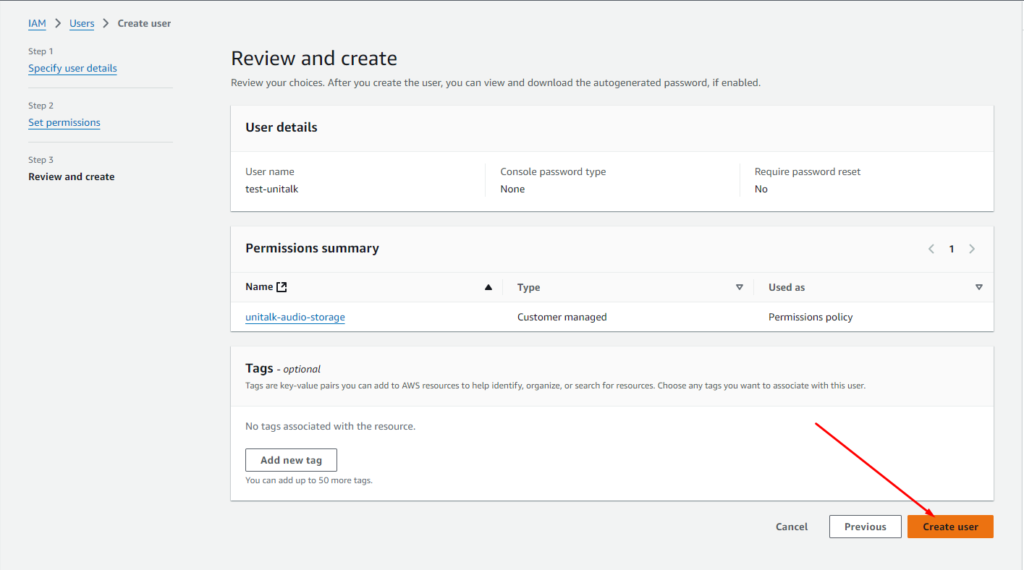
We specify the username and proceed with the creation process.
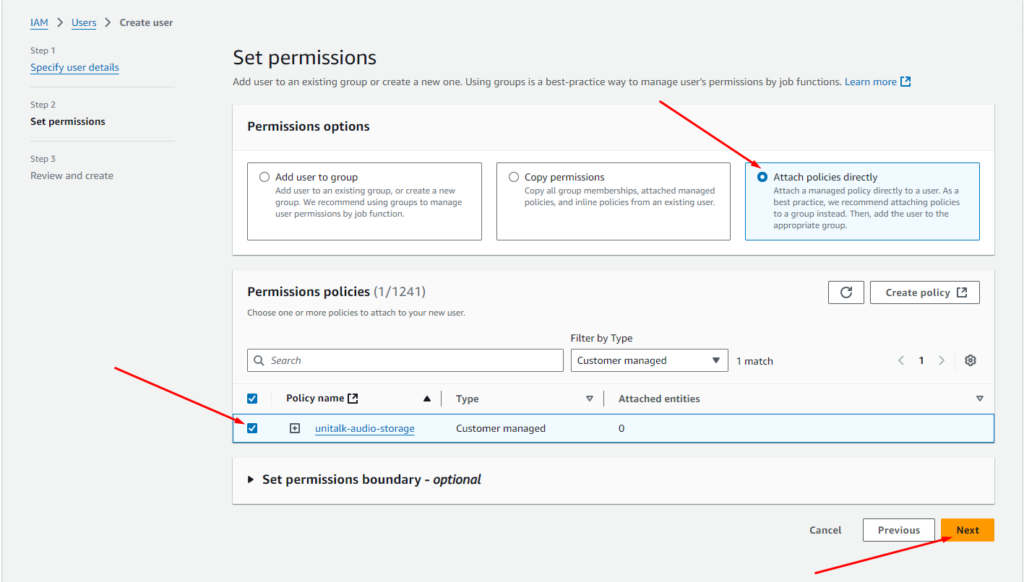
Assign the AWS service access policy we created to the user. Select the assignment method “Attach policies directly” and find the created access policy by name (it’s easy to find by filtering all access policy templates by the “Customer managed” type). Let’s move on to the user settings and confirm its creation
5) Ключі доступу користувача.
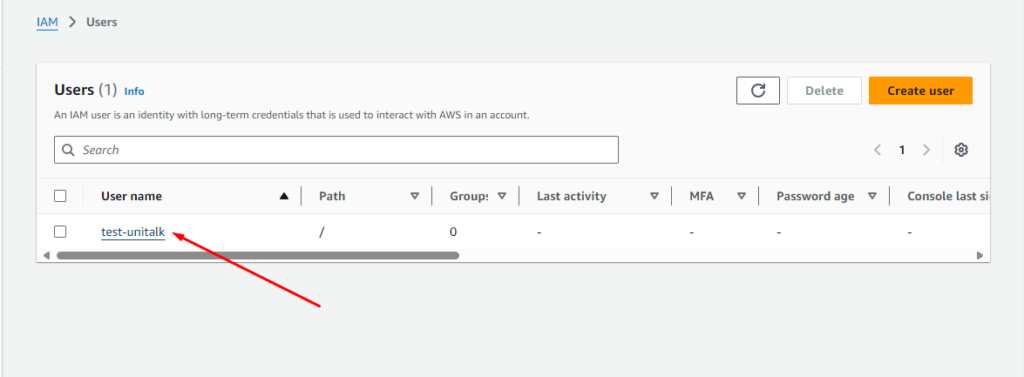
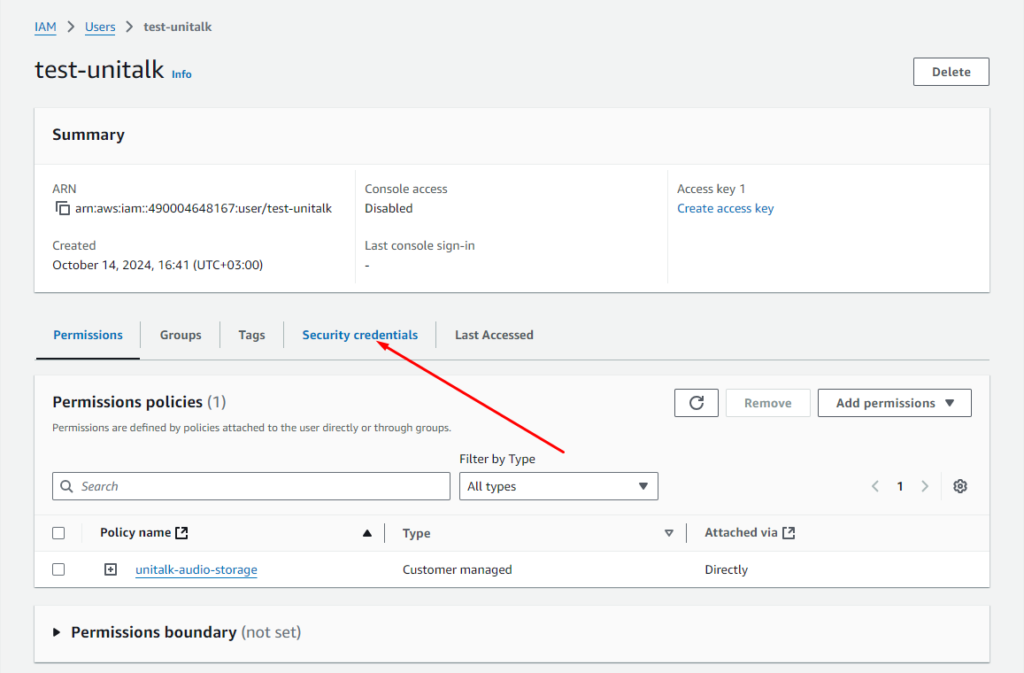
To get the access keys that need to be specified in the Unitalk personal account, go to the Identity and Access Management (IAM) -> Users section and go to the settings of the user we just created
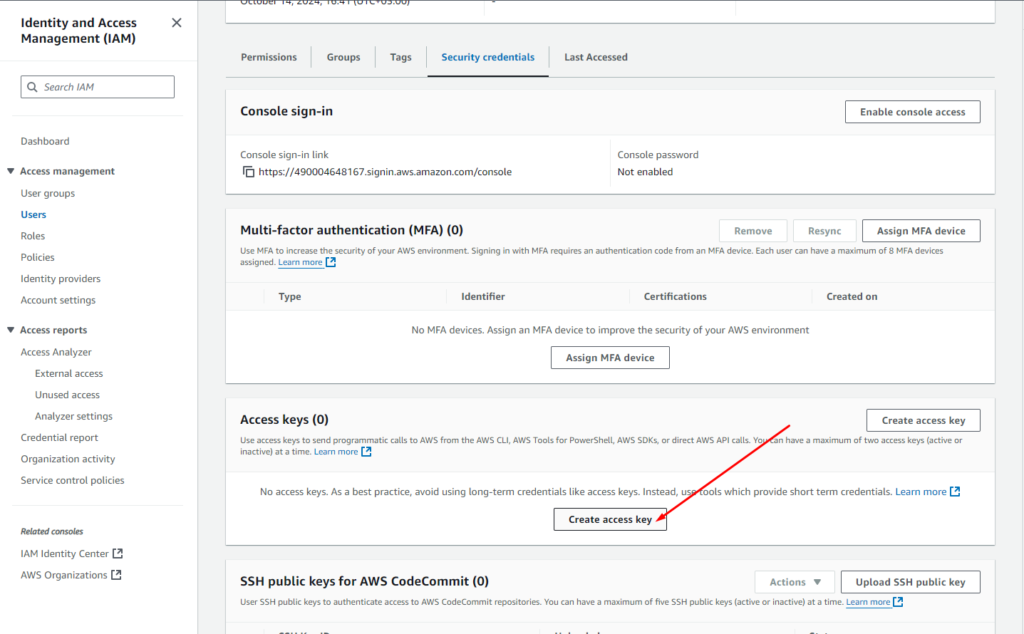
– Open the “Security credentials” section
– Let’s create a new Access key for the user
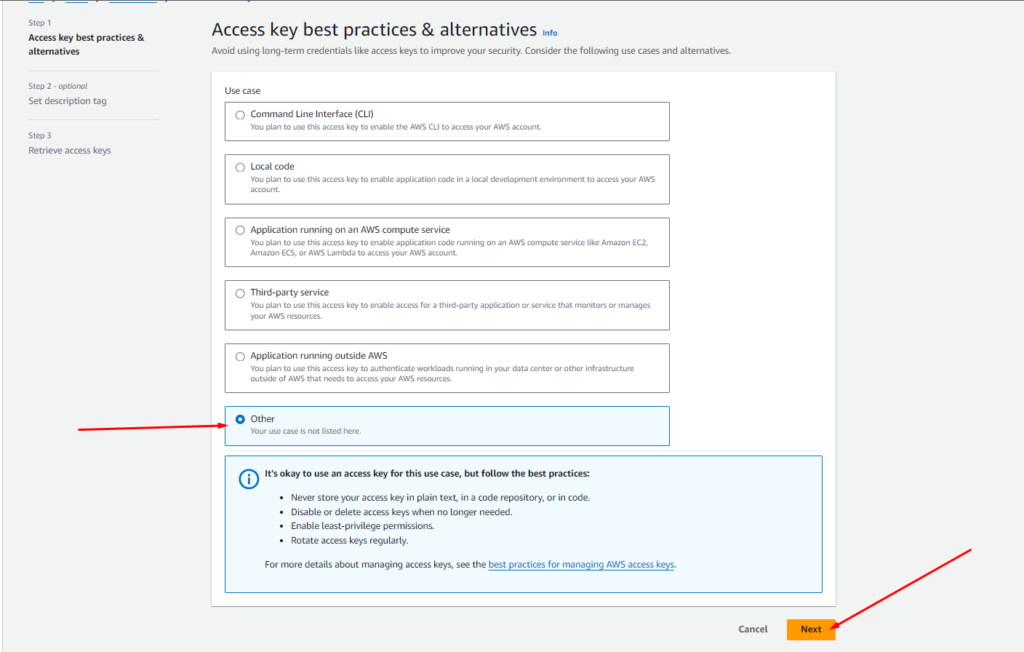
– We can choose any type of key, in this example we choose “Other” and proceed further
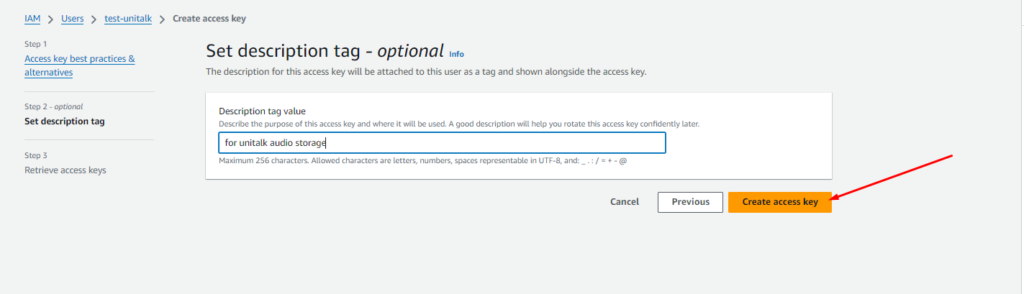
We specify the tag by which we can identify the access key and create it
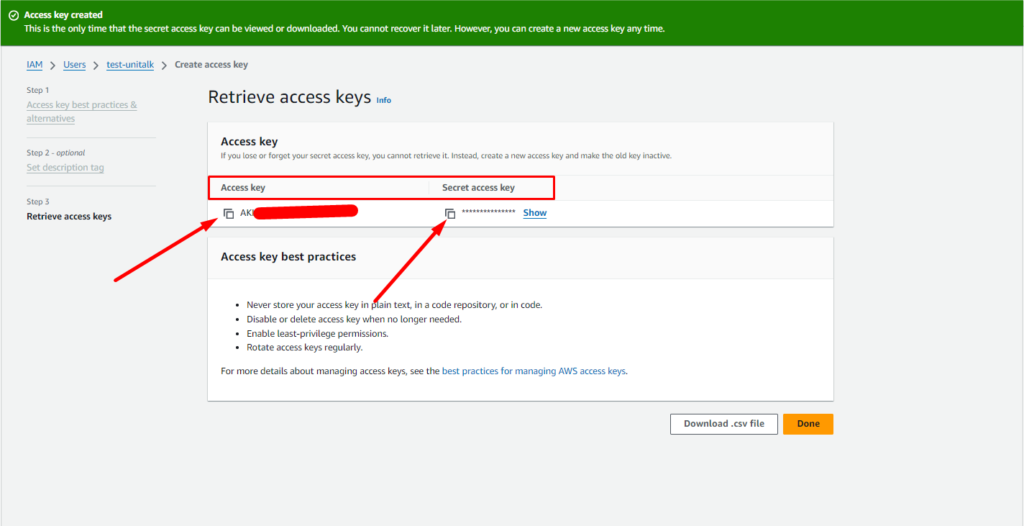
– Be sure to copy the Access key and Secret access key, because it is they that must be specified in the configuration settings of the external storage in Unitalk. Click “Done”.
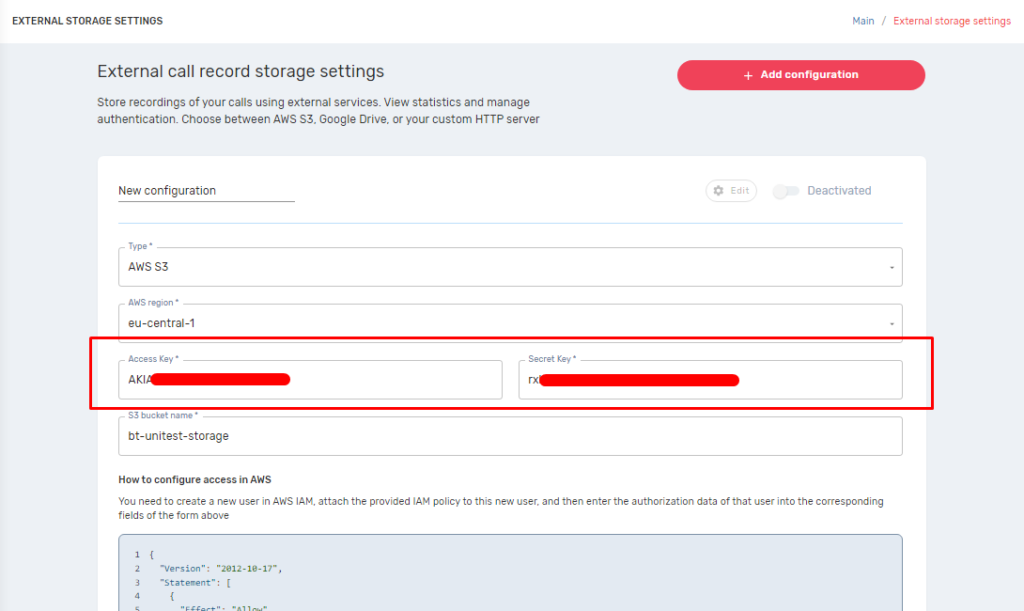
6) We specify user keys in the external storage settings
7) We check the configuration settings. If everything is configured correctly, you will see a corresponding notification in your personal account
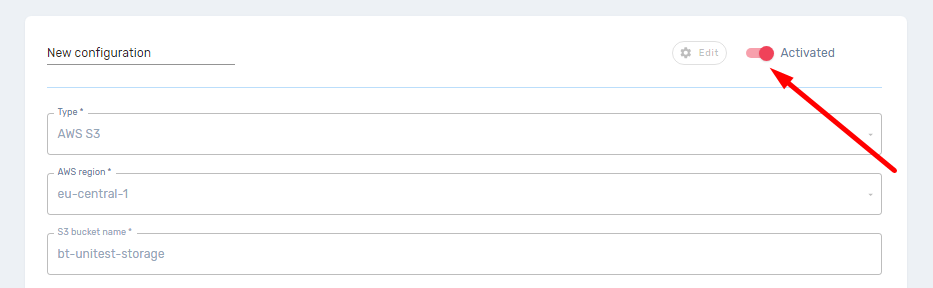
8) Activate the created configuration
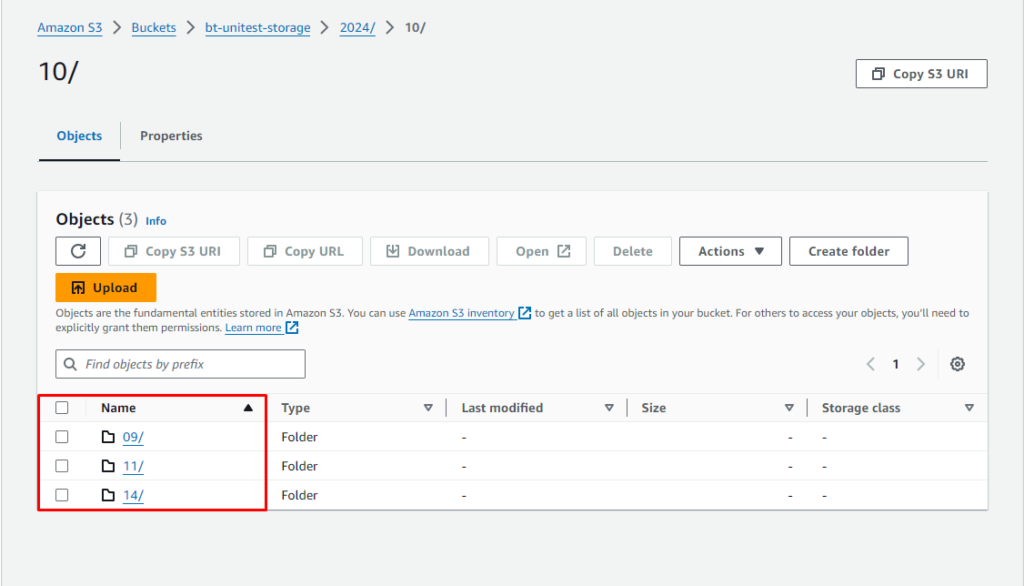
After activating the configuration of the external storage, audio conversations will be transferred to the specified S3-bucket. To download records, directories will be automatically created in the format:
Year -> month -> date -> hour -> minute
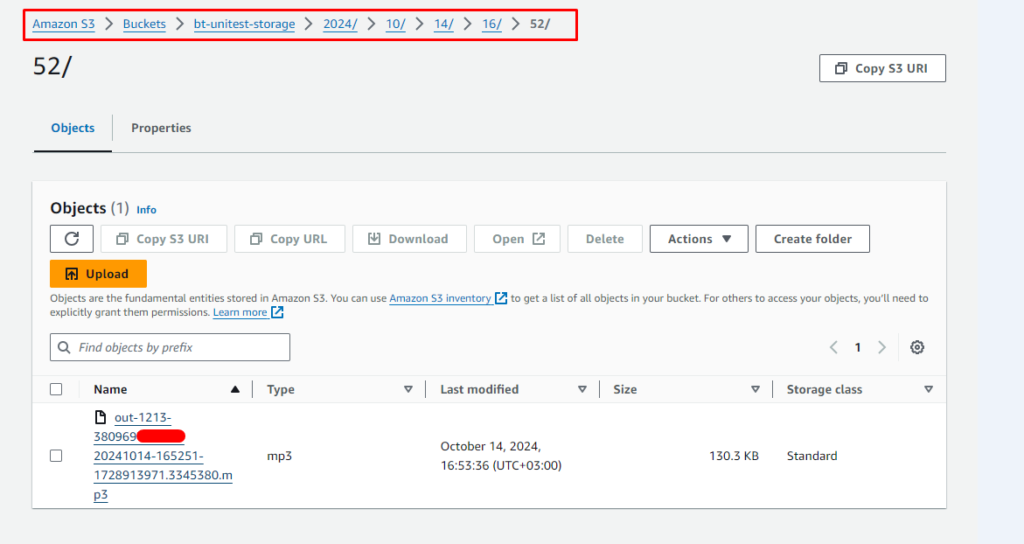
After activating the configuration, all previous audio conversations will be gradually uploaded to S3
All audio conversations will be available for listening through your Unitalk personal account. If the file is deleted from S3, it will also cease to be available in the personal account, and when we try to listen to it, we will receive a “not found” error.


