Connecting and configuring UniTalk IP telephony integration with SendPulse CRM
SendPulse CRM is a free CRM system for online businesses that allows you to accept orders, control the path of transactions with customers, collect a contact database, and launch marketing campaigns.
To configure the integration of UniTalk IP telephony with SendPulse CRM, follow these steps.
1. Log in to your UniTalk account and go to the SendPulse CRM integration section, click the Connect button.

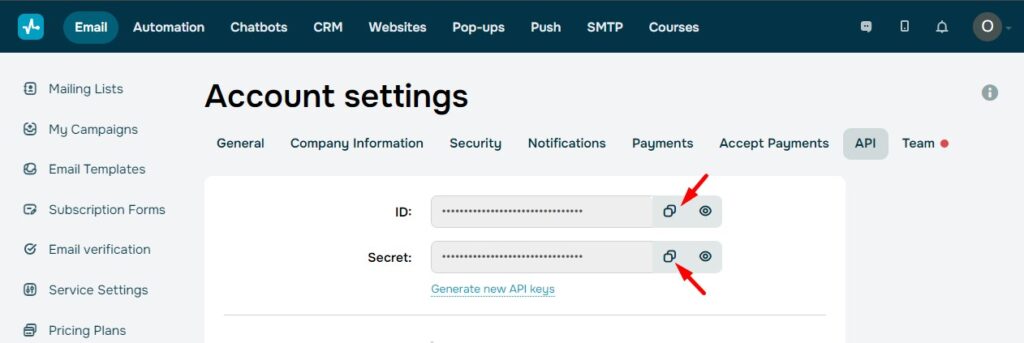
2. The data can be found in the SendPulse CRM personal account by opening the Account Settings – API section.
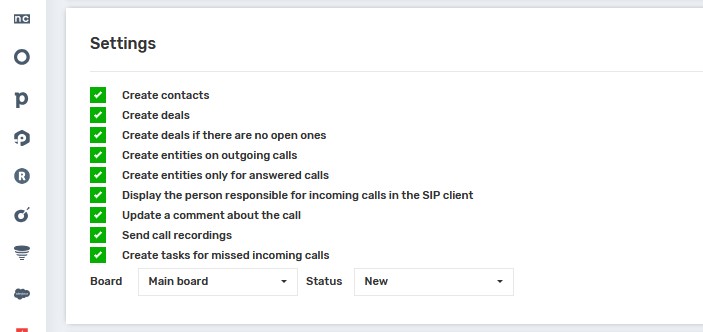
3. Return to your UniTalk personal account and in the SendPulse CRM integration section in the Settings block, select the following values and check the boxes.
4. Note!
If you do not enable the “Create contacts” option, but enable the “Create deals” option, all deals will be created using existing contacts.
5. When you enable Create entities on outgoing calls, contacts and deals will be created when outgoing calls are made to mobile numbers of contacts.
6. When you enable the “Display the person in charge of incoming calls in the SIP client” setting, you need to additionally enable the “Display caller name” checkbox in the “Users” section of the “SIP Settings” block next to each user in the UniTalk personal account.
7. Check the box next to Send call recordings to add a link to audio recordings in the comments to customer cards.
8. Select the “Create tasks for missed calls” checkbox, specifying the board and status, to create callback tasks in case of missed phone calls.

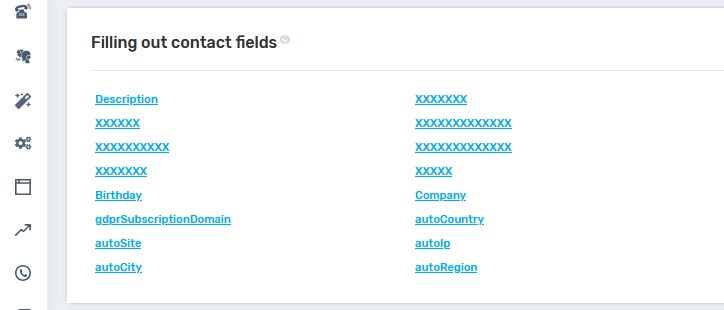
8. Fill in the “Contacts” and “Agreements” fields. The data will be pulled from UniTalk when you create them.
9. In the Checkbox field, select the appropriate value: 0 – off, 1 – on.
10. In the Date and time field, enter the date in the format 2023-01-12 or 2023-01-12 14:06.
11. Identify those responsible for missed calls.
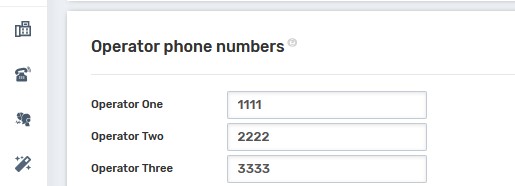
12. Separated by commas, specify the phone numbers of SendPulse users – extension numbers or GSM numbers.
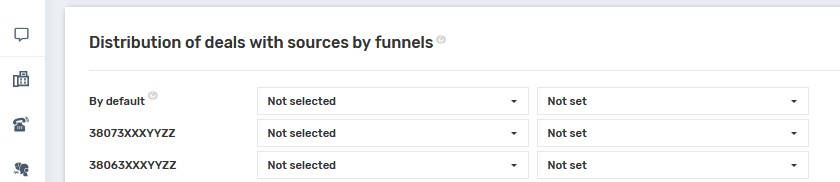
13. Select the pits and statuses by which you want to categorize deals when they are created. Be sure to specify the default sinkholes.
14. After making all the changes, click the “Save” button.
15. Congratulations! You have set up the integration. To disable it, click on the “Delete integration” button and confirm the action by clicking “Delete”.


