Connecting and configuring UniTalk IP telephony integration with VoIPTime CRM
To set up the integration, log in to your UniTalk and VoIPTime CRM personal accounts as an administrator and follow the steps below.
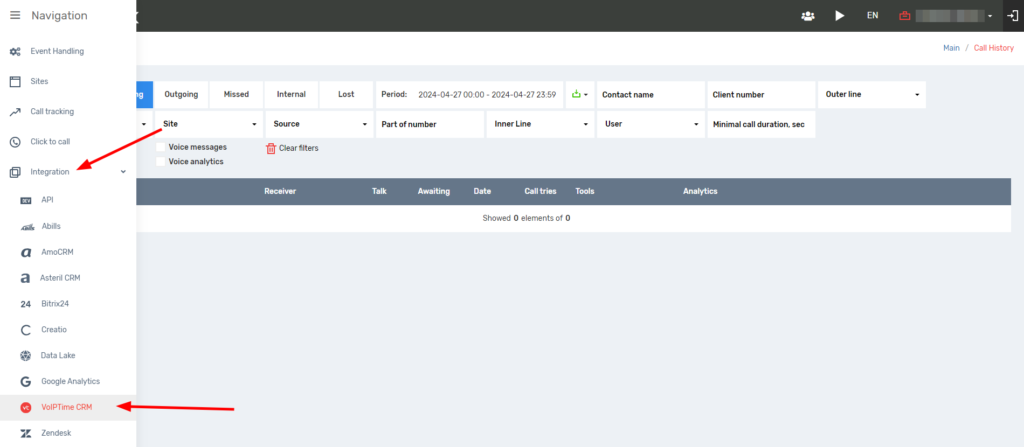
- In your UniTalk personal account, go to the Integration section and select VoIPTime CRM.
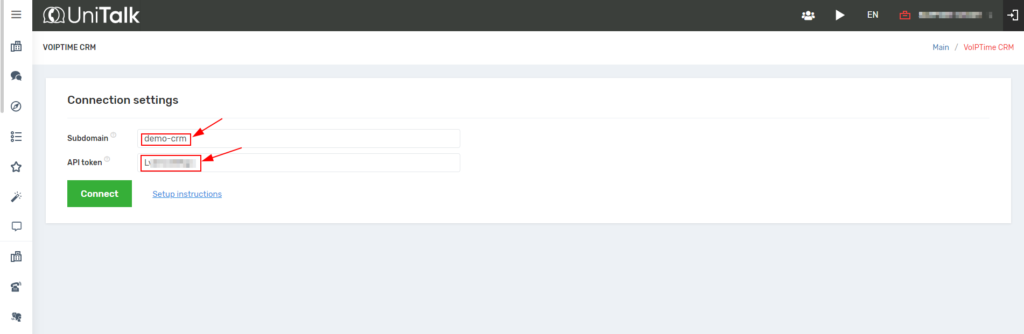
2. In your VoIPTime CRM personal account, in the “Settings” section, in the “System settings” tab, copy the CRM system subdomain and API token.

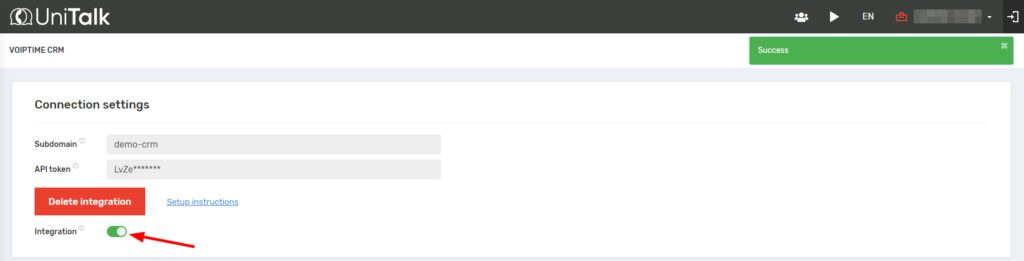
3. Paste the copied data into your UniTalk personal account in the connection settings and click the “Connect” button.
4. Next, set up the processing of call events by the CRM system.

- Create leads – when making calls in the CRM system, leads will be created. You need to select statuses and categories for them.
- Create orders – when making calls in the CRM system, orders will be automatically created. For them, you need to specify the status, offer, and project.
- Create a new entity if there is no open one – this is an opportunity to create new leads or orders if the previous ones have a closed status.
- Create entities during outbound calls – this is the ability to create leads or orders in the CRM system when making outbound calls from the CRM.
- Create entities only for calls that have been answered
- Display the person in charge during calls in the SIP client is the ability to display the person responsible for the lead during calls in the SIP client of the CRM system.
- Leave a comment about the call – this is the ability to automatically leave a comment about the call, as well as a link to the audio, by enabling the “Add a link to the audio in the comment” option.
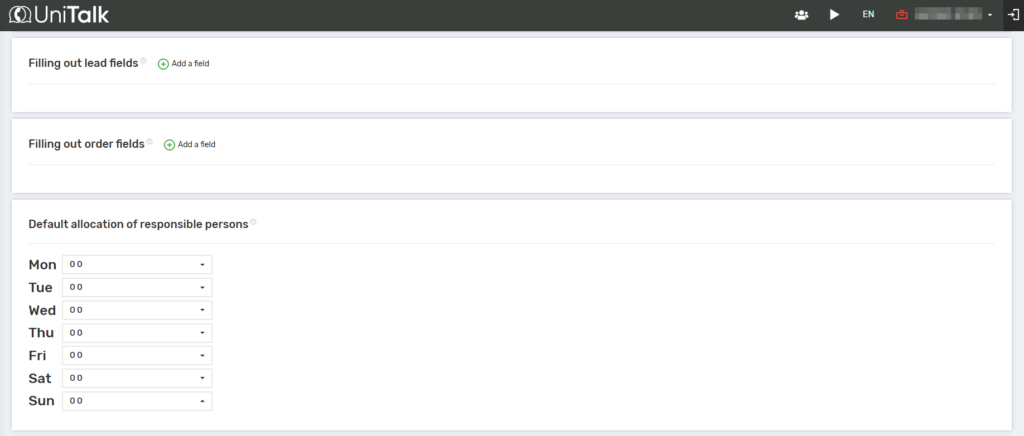
You can also fill in the fields of leads and orders, and set up people responsible for missed incoming calls. You can do this by assigning a responsible person to each day of the week.
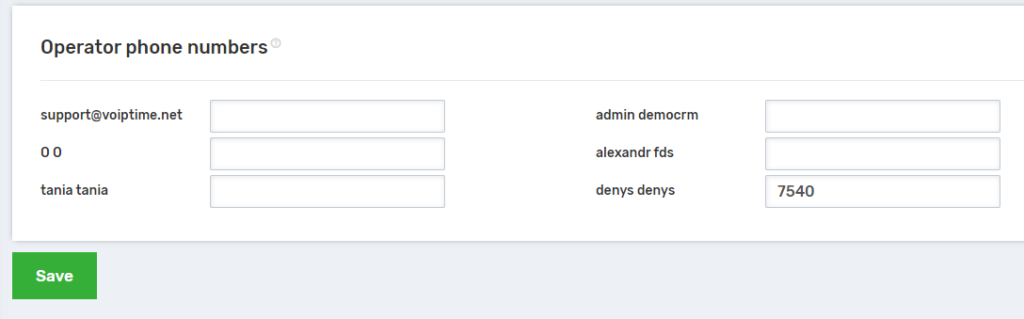
5. The next step is to assign SIP line numbers to CRM system users. These numbers can be found in the “Users” section of the UniTalk personal account.
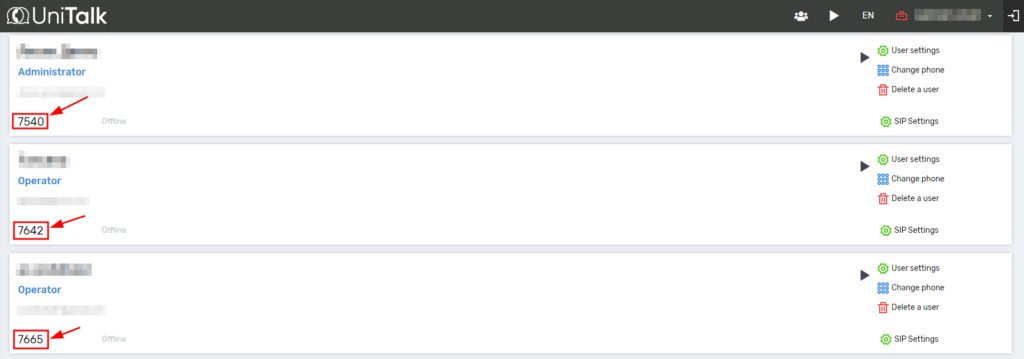
Next, specify these numbers and click the “Save” button.
6. You have set up the optimal integration configuration. Now you can activate it.
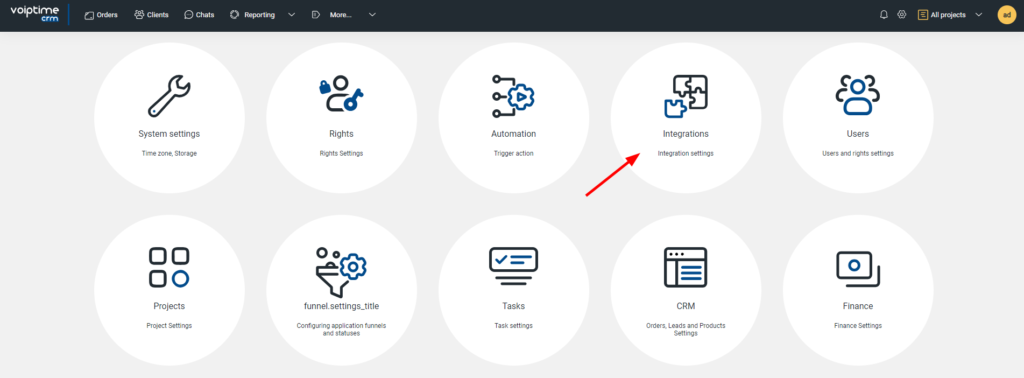
7. Next, set up integration from the CRM system. To do this, you need to configure integration with an external telephony service. In your VoIPTime CRM personal account, go to the “Integrations” section in the settings.
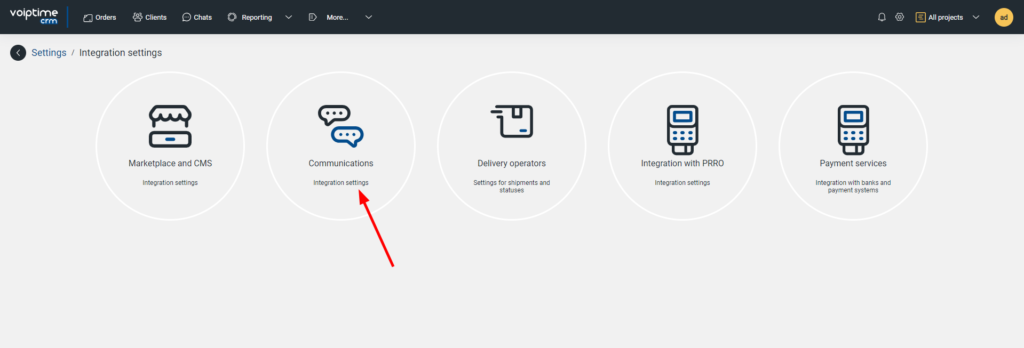
Next, select the Communications item.
Next is “External telephony”.
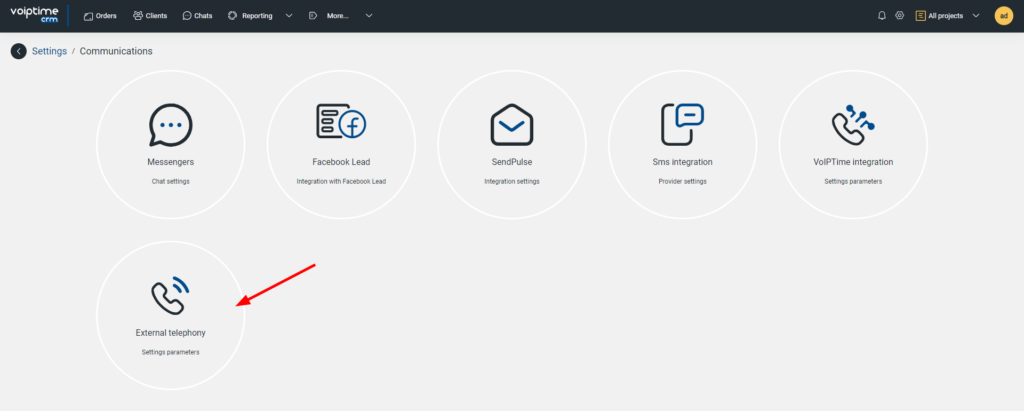
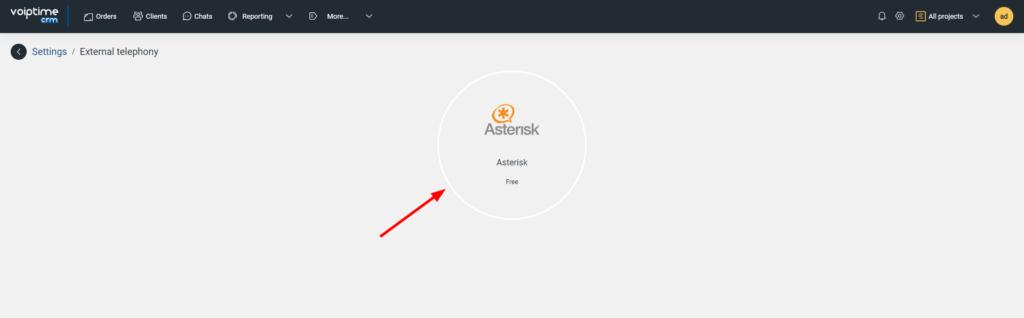
Next up is Asterisk.
Fill in the values of all fields according to the screenshot.
- Name: UniTalk Asterisk end cap
- Name of context: Outgoing
- Description: UniTalk Asterisk end cap
- Channel type: SIP
- URL: http:⁄⁄username:SIP_PASS@sip.unitalk.cloud:8080
- WSS URL: wss:⁄⁄⁄sip.unitalk.cloud:8080
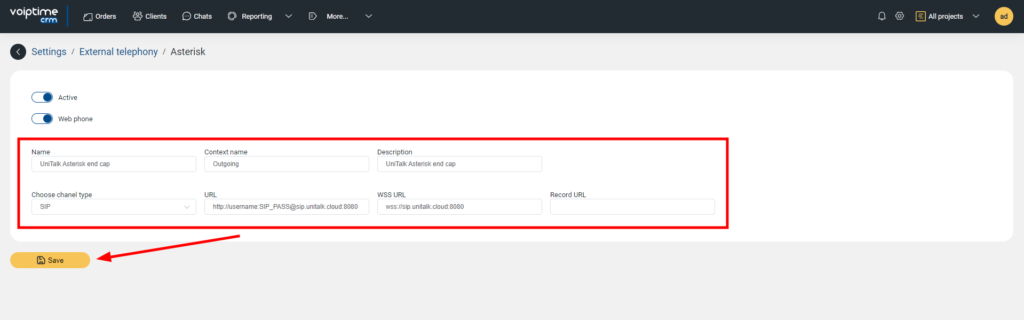
Click the “Save” button.
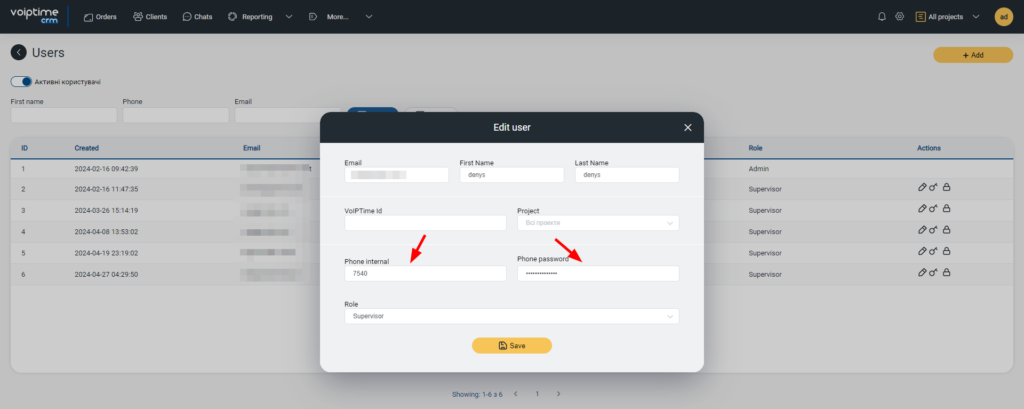
8. Next, you need to specify SIP registration data for each CRM system user who works on calls. This information can be found in the “Users” section of your UniTalk personal account.
9. You can already make calls from CRM. To do this, go to the customer’s card and click the Call button or the icon next to the contact’s phone number.
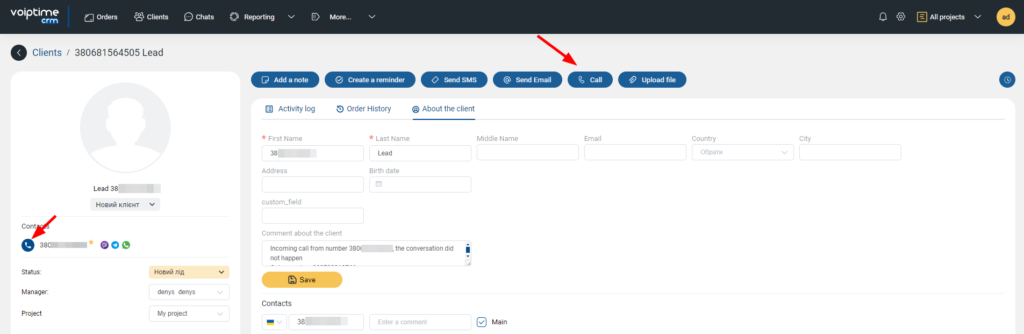
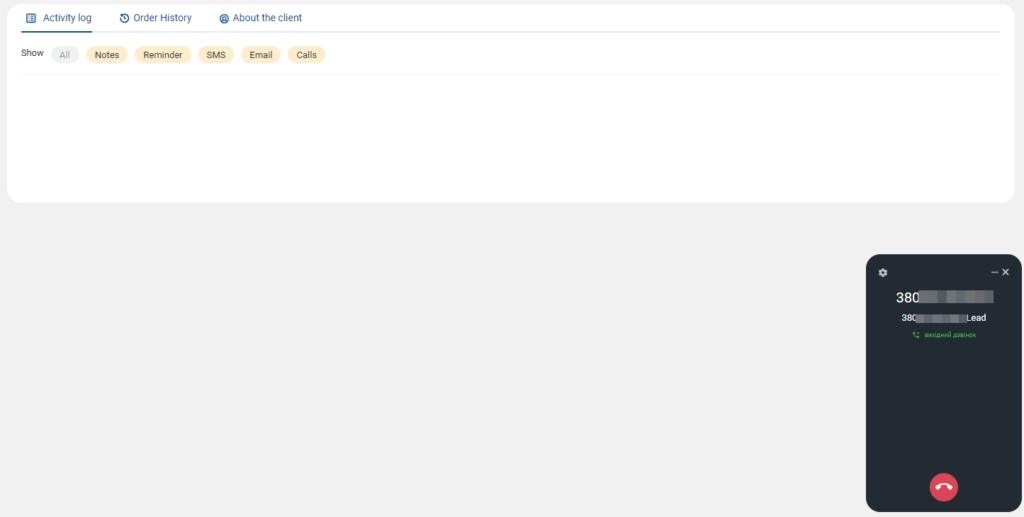
This is how you make an outgoing call:
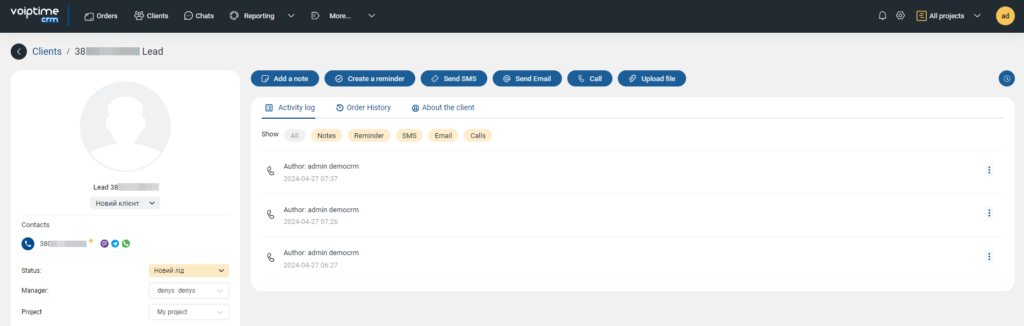
When the call ends, a note about the call event appears in the contact card.
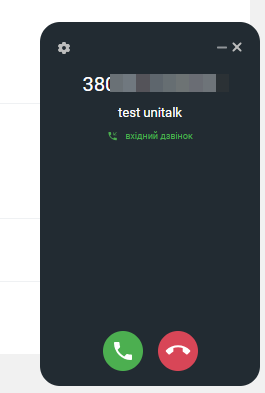
Incoming calls are also recorded in CRM.
Congratulations! You have set up the integration.
Here you can watch a video tutorial – https://drive.google.com/file/d/1ilivW4mvPBQjsUy85fcyeuol5CrxSDDJ/view?usp=sharing
In case of any difficulties, please contact the UniTalk technical support Telegram chatbot, we will help!


