Installation instructions and setting up UniTalk and RetailCRM integration
- If you are using version 7 of RetailCRM, go to the RetailCRM account and select the menu item “Administration – Integration – API access keys”. Click the “Add” button.

If you are using RetailCRM version 8, go to the RetailCRM account and select the menu item “Settings – Integration – API access keys”. Click the “Add” button.

2. In the settings, make sure that the Activity checkboxes are enabled, the Allowed API methods checkboxes are enabled, and the Access type value is set to Access all stores. Then click the Save button.

Make sure that the following checkboxes are enabled in the Allowed API methods setting:
- /api/orders
- /api/orders/create
- /api/customers
- /api/customers/create
- /api/customers/notes/create
- /api/reference/statuses
- /api/reference/sites
- /api/telephony/call/event
- /api/telephony/calls/upload
- /api/users
- /api/custom-fields
- /api/custom-fields/dictionaries
- /api/integration-modules/{code}/edit
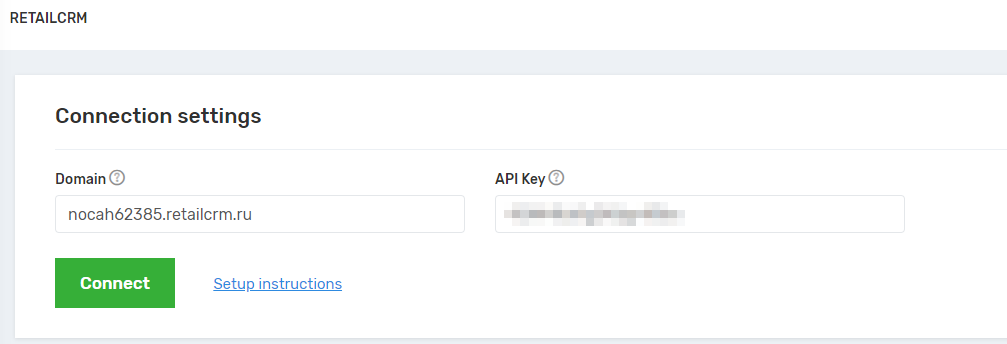
3. Then go to the “Integrations – RetailCRM” menu in your UniTalk personal account. Enter the domain of your account in RetailCRM and the API key. Click the “Connect” button.
4. Then select the store where customers, orders, and records will be created. Configure which entities will be created in the RetailCRM personal account when incoming calls are made in the UniTalk system.

5. Select the responsible managers for missed calls according to the days of the week. The responsible employee will be assigned to the client card when creating it, provided that a call from a new client was missed. If the responsible person is not specified, a hyphen will be displayed in the client card when created.

6. Specify extension lines for operators. The list of operators includes all active users of the RetailCRM account.

To successfully create customers and orders in the RetailCRM account, check the user’s rights. The user must be added to a group that has the following rights:
Orders:
- View orders
- Create an order
Customers:
- View customers
- Create a customer
Communications:
- View only your own calls
Also, be sure to enable the “Process orders” checkbox in the user group settings. Specify which stores the user group has access to.

7. Set up custom fields for customers and orders. Data from UniTalk will be sent to the RetailCRM system.
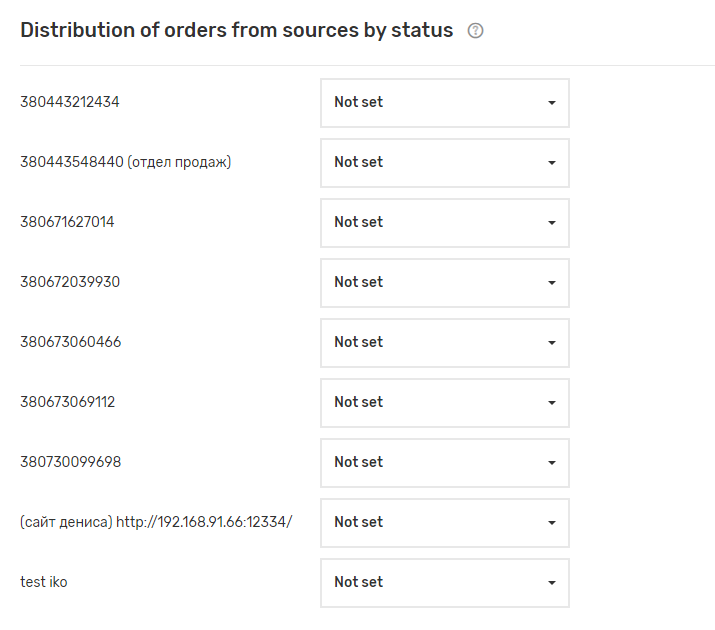
8. Customize order statuses depending on the call source.
9. And be sure to click the “Save” button.
One-click call with RetailCRM.
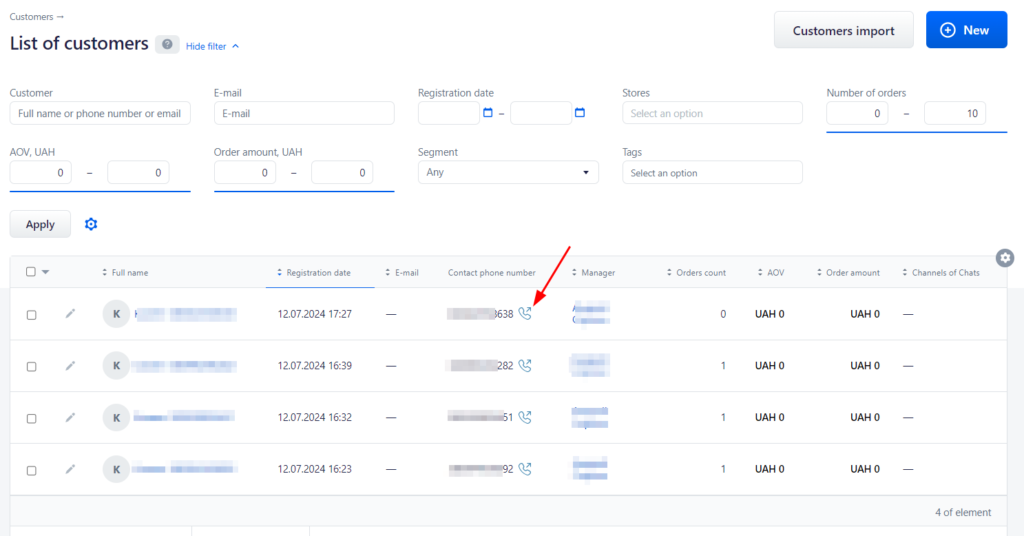
To make one-click calls from the RetailCRM account, you need to set up integration with UniTalk and assign extension lines to operators (managers).
Now, to make a call, you can simply click the call button in the client list or on the client card. The extension must be online and free.