INSTRUCTIONS FOR CONNECTING AND CONFIGURING THE INTEGRATION OF UNITALK AND KEEPINCRM
Imagine that your managers no longer waste time manually entering numbers, and not a single client is lost due to a missed call. Integrating UniTalk IP telephony with KeepinCRM unites your communications and customer base into a single system. Every call is automatically logged, the conversation history is saved in the client’s card, and the auto-dialer works without your intervention. In this step-by-step guide, we will show you how to quickly connect and set up the integration so that your telephony drives your results.
Note. Before following the steps, you must be logged in to your UniTalk and KeepinCRM personal accounts with administrator rights. In addition, you must have access to the advanced paid functionality of KeepinCRM.
Connecting integration
To connect the KeepinCRM integration, you need:
1. Go to the ‘API’ page of the “API and Automation” section in your UniTalk account;
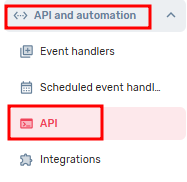
Note. If the API key has not been previously created, click the Create button in the opened section.
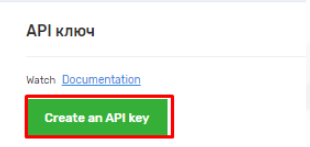
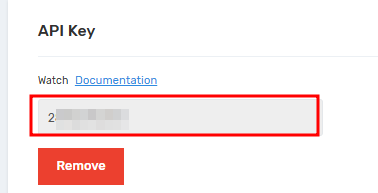
2. Copy the API key;
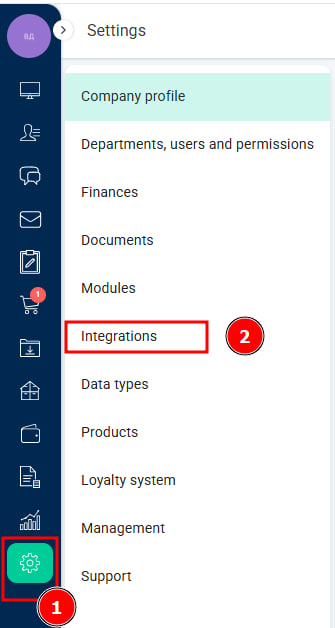
3. Go to the KeepinCRM personal account to the Integrations page of the Settings section;
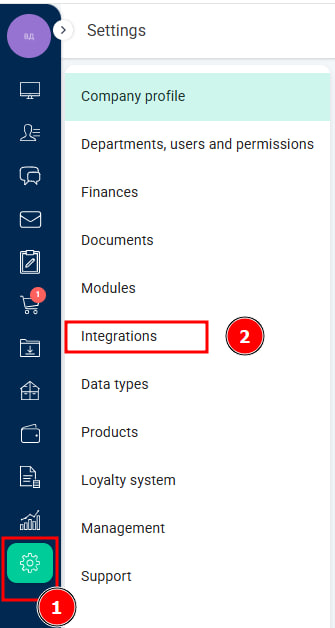
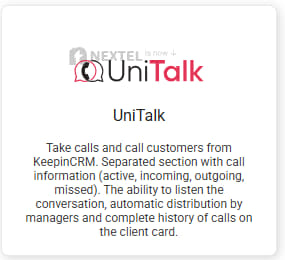
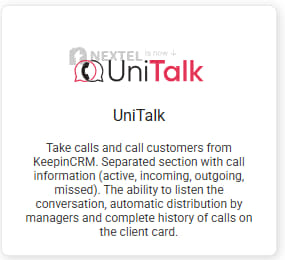
4. On the page that opens, click on the UniTalk card;
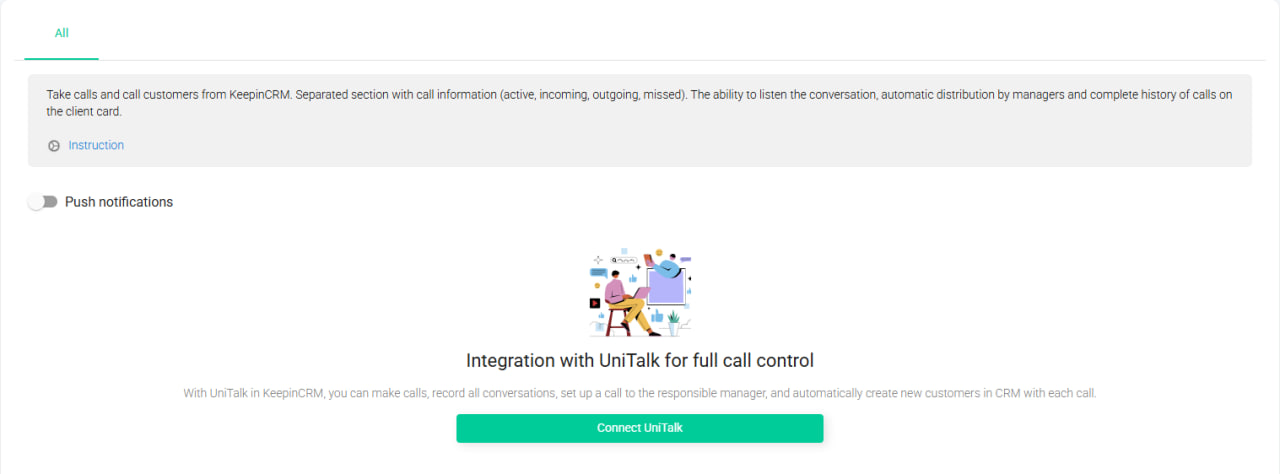
5. On the page that opens, click on the “Connect UniTalk” button at the bottom of the page;
6. In the dialogue box that opens, fill in the required fields:
— specify the desired channel name in the “Name” field;
— paste the previously copied API key into the “API key” field.
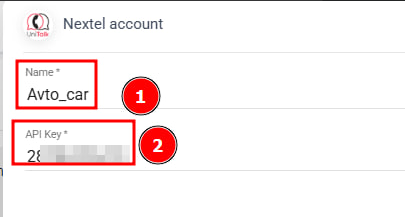
7. Click the Submit button in the dialogue box that opens;

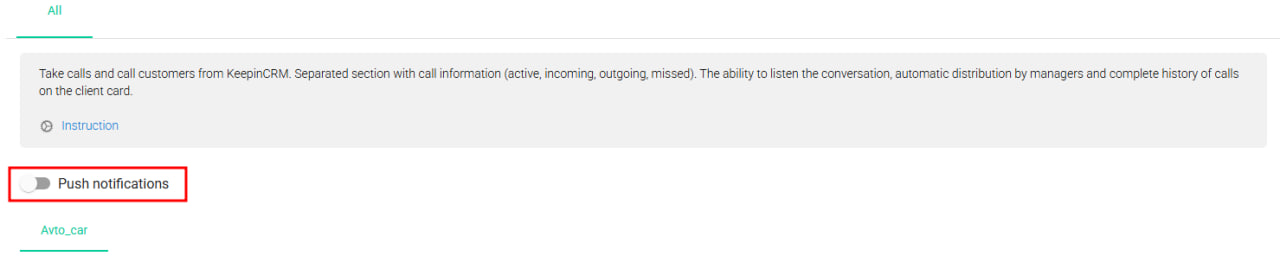
8. Enable push notifications and provide the appropriate permissions in the browser;
9. In the “Association of SIP numbers and KeepinCRM users” block:
—Click the “Add” button;

10. Select the employee’s SIP line from the drop-down list and select the KeepinCRM user from the second drop-down list

11. Repeat steps 9.1 to 9.3 for all employees.
12. At the bottom of the page, click on the “Webhook url” field;

13 Go to the “Event handlers” page in your UniTalk personal account, click the “Add” button at the top of the page;

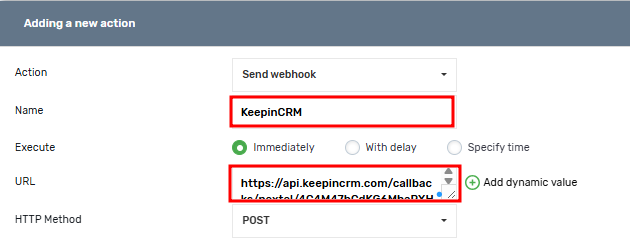
14. In the “Add new action” block that opens, enter the desired name in the “Name” field and paste the link to the webhook copied in step 12 into the “URL” field, leaving the rest of the settings as they are by default.
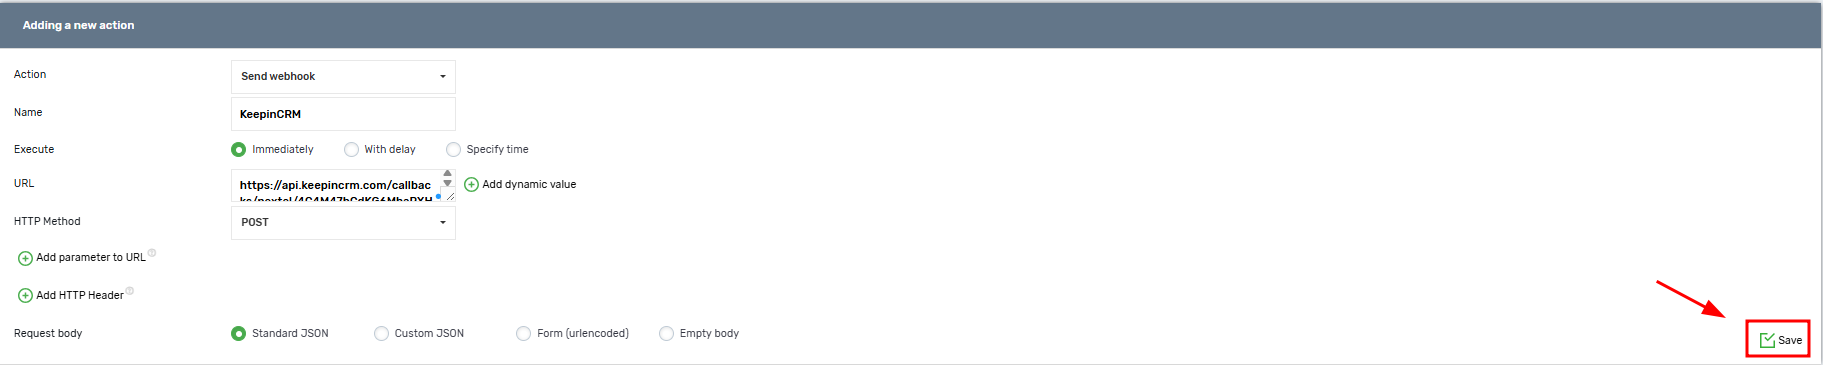
15. Click the “Save” button
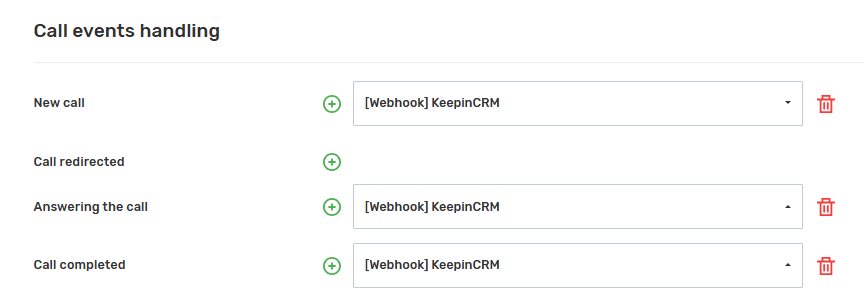
16. Go to the UniTalk personal account to the API page in the Automation API section, in the “Call events handling” block. For each call event, click the “Add” button;
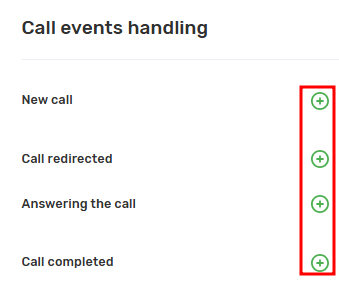
17. From the list, select the previously created webhook;
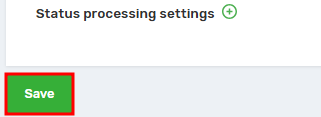
18. Click the “Save” button.
Connecting the integration of Autodial calls
To transfer information about Autodial calls, you need to:
1. Go to the KeepinCRM personal account to the Integrations page of the Settings section;
2. On the page that opens, click on the UniTalk card;
3. If more than one project is connected, select the tab of the corresponding integration;
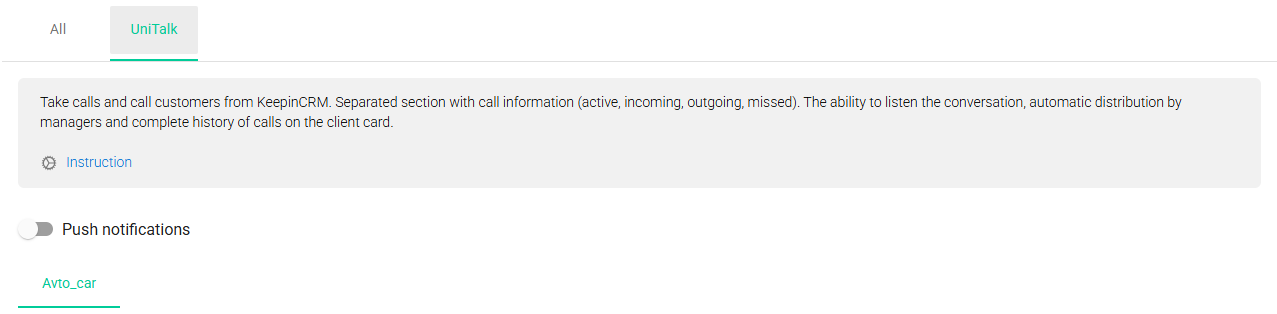
4. At the bottom of the page, click on the “Autodial Webhook url” field;

5. Go to your UniTalk personal account to the “Event handlers” page, click on the ‘Add’ button at the top of the page;

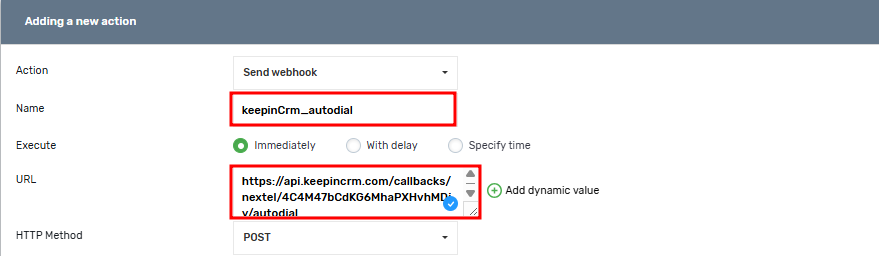
6. In the “Add new action” block that opens, enter the desired name in the “Name” field and paste the link to the webhook you copied in step 4 into the “URL” field;
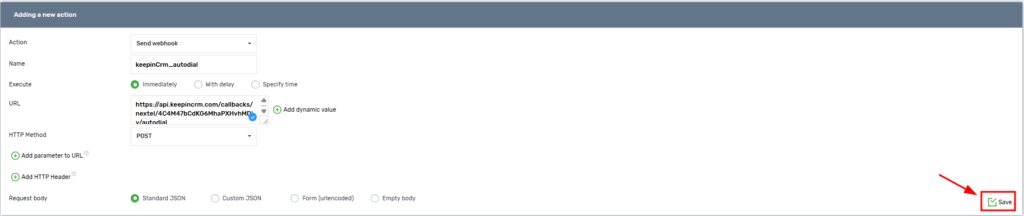
7. Click the “Save” button;
8. When creating or editing an auto call/guaranteed callback, go to the “Autodial” section. After that, select the desired call and go to the “Event handling” block;
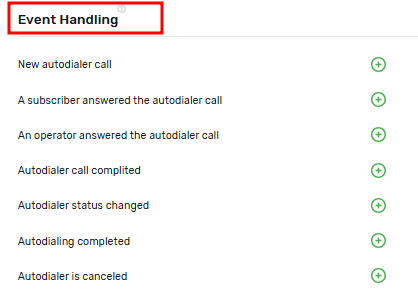
9. For each call event, you need to:
– Click on the “Add” button;
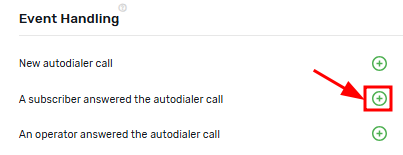
10. From the list, select the previously created webhook .

11. Save changes to auto-call/guaranteed callback.
List of call events:
- The subscriber called alone or was out of service;
- Call ended – the subscriber is talking;
- Call ended – out of area or disconnected;
- Call ended – busy or reset;
- Call ended – no answer;
- Call ended – wrong direction;
- Call ended – not enough lines;
- Call ended – number does not exist;
- Call ended – subscriber answered, no operators available;
- Call ended – subscriber answered, and no operators were available;
- Call ended – subscriber and operator answered;
- Call ended – subscriber answered and operators did not accept the call;
- Call ended – audio error;
- Call ended – connection failure;
- Call ended unsuccessfully and redial attempts have expired.
Connection and integration setup is complete. Call information is transferred to KeepinCRM and can be viewed on the Calls page.

Conclusion
Congratulations! You have successfully set up the integration between UniTalk and KeepinCRM. From now on, all call data is automatically transferred to the CRM, allowing managers to control service quality and agents to process requests faster. We recommend making a test call to ensure everything works correctly. If you have any questions at any stage, our technical support team is always here and ready to help.